How to Unlock the Bootloader on Samsung Nexus S GT-I9023
The vast majority of Samsung Nexus S GT-I9023 owners are not aware of the feature called the "bootloader". Some people may confuse it with the standard Downloads application, through which files can be downloaded from the Internet. But advanced users know about this term and understand that they need to unlock the bootloader on Samsung Nexus S GT-I9023.
What is a Bootloader and What is It Used For
For a start, it's worth discussing the bootloader itself. Bootloader is the engineering menu of Samsung Nexus S GT-I9023, which functionally resembles the BIOS on a computer. It allows for deep-level manipulation of the smartphone, not just a factory reset.
By default, the bootloader is locked. This is done so that novice users do not make a fatal mistake when editing the device kernel or brick their Samsung Nexus S GT-I9023. Still, unlocking the bootloader gives the smartphone owner the following benefits:
- the ability to install custom firmware;
- root rights for extended access to the device;
- installation of mods and patches for the current version of the OS.
Generally, unlocking the bootloader provides the user with a lot of features, but only experienced users can fully appreciate them. If you are one of such users, then it is recommended that you read the detailed instructions for unlocking the bootloader.
Precautions
Before reading the guide to unlocking the bootloader, you need to take into account a number of dangers inherent to the operation. First, after its completion, Samsung Nexus S GT-I9023 will be automatically void of its warranty, as in the case of obtaining root rights.
Second, after the bootloader is unlocked, system components will become more susceptible to all kinds of threats. Finally, an unlocked phone can be easily recovered by an intruder who has stolen or found the device on the street.
Unlocking the Bootloader on Samsung Nexus S GT-I9023
After reviewing the aforementioned info, you can proceed to the procedure itself. It consists of three stages, each of which needs to be carried out by the user.
1. Status Validation
First you need to understand if bootloader is actually locked on your Samsung Nexus S GT-I9023. After all, it is possible that you purchased the device second hand, and the previous owner has already performed the appropriate steps.
The check is carried out by direct interaction of the phone with the computer. The steps are as follows:
- Download and unzip the ADB and Fastboot debug bridge package to your PC.
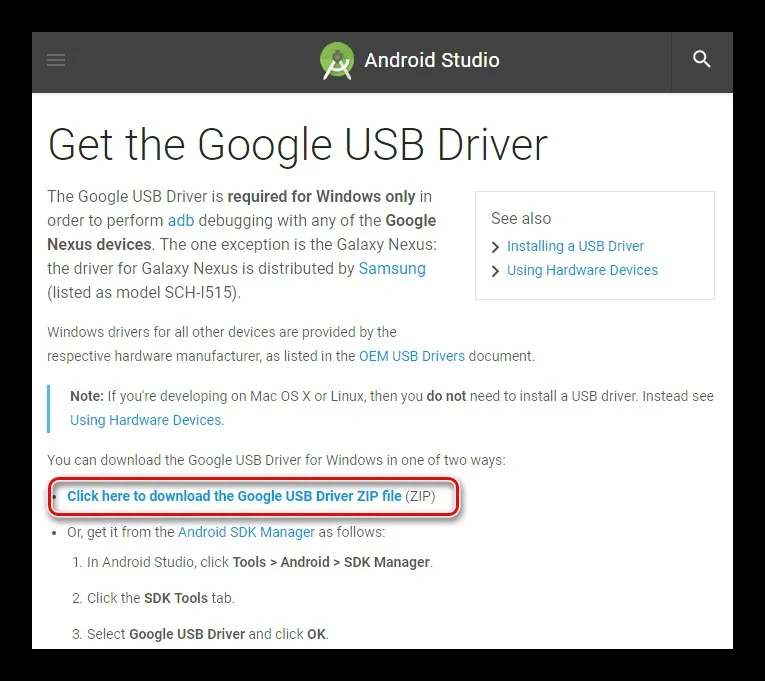
- Download and install the driver to interact with the smartphone using the official Android website.
- After installation, the ADB interface should be displayed in the Device Manager.
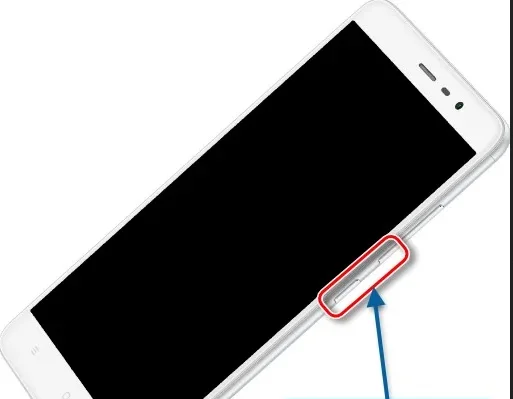
- Put your smartphone into fastboot mode by first turning it off and holding down the volume down key along with the power button.
- Connect your mobile device to your computer.
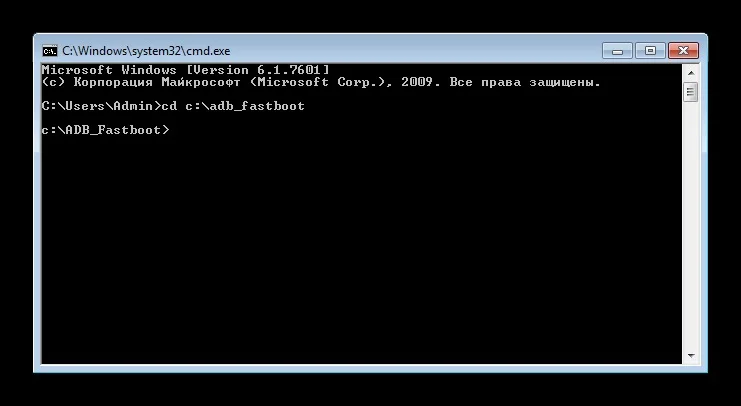
- Launch Command Prompt on your PC.
- Enter the following: "cd [path to the adb and fastboot folder]" and press Enter.
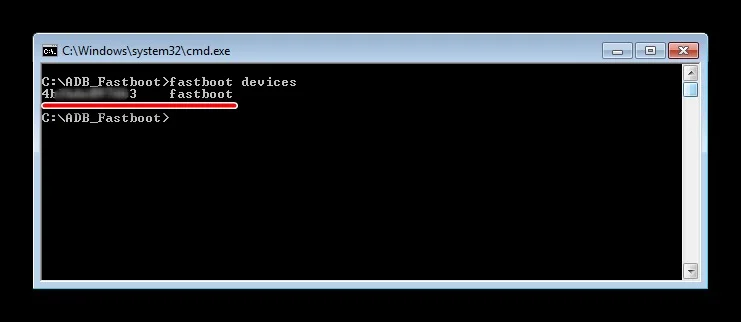
- Use the "fastboot devices" command to detect the phone connected to the PC.
- Enter the prompt “fastboot oem device-info” to determine the bootloader status.
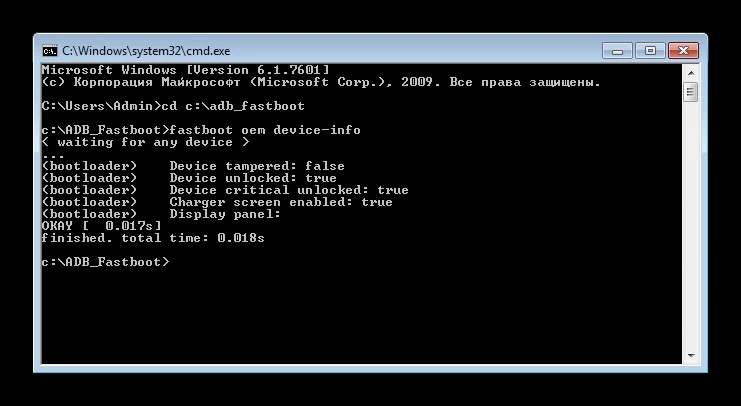
In the information displayed by the command line we will be looking for the line "Device unlocked". If the value opposite it is "false", it means that the bootloader is locked. If “true”, bootloader was unlocked earlier.
2. Sending a Request
To remove the bootloader lock on Samsung Nexus S GT-I9023, you need to send the corresponding application to the manufacturer:
- Open the official website of the firmware developer.
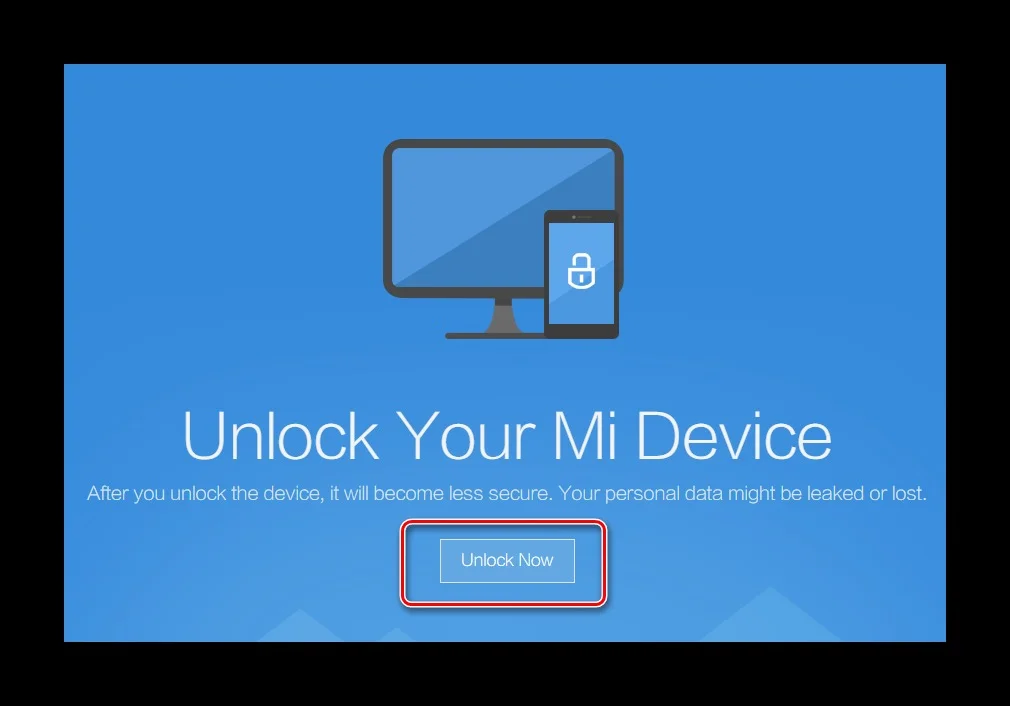
- On the unlock page, click the "Unlock Now" button.
- Authorize your account (it was created when the phone was first set up), and indicate the reason for unlocking (for example, for flashing).
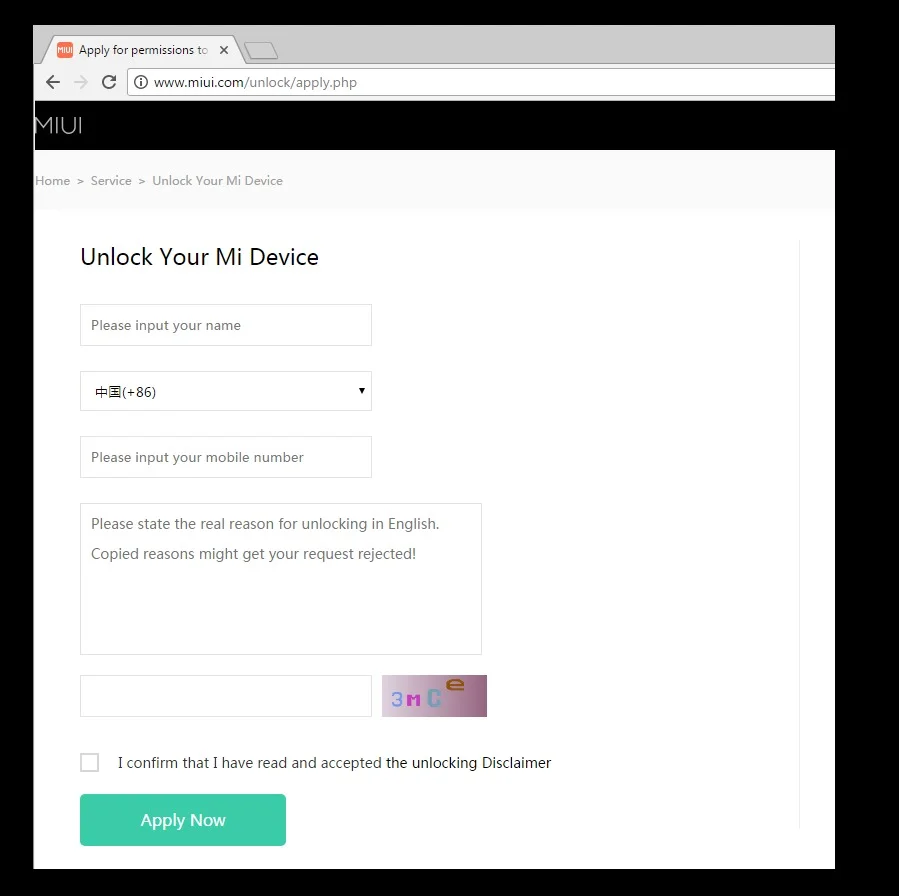
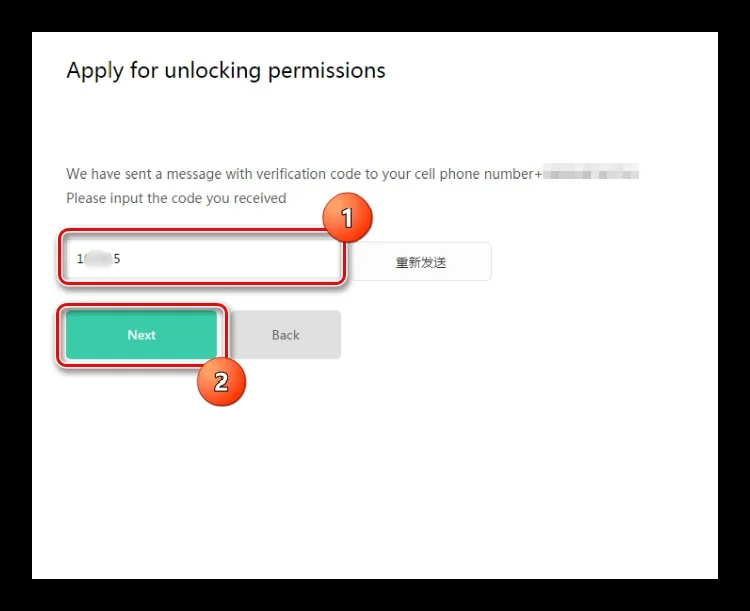
- Confirm ownership of the device using the code from the reply SMS.
Then you will have to wait for the manufacturer to approve the request, and you will be able to use all the functionality of the bootloader.
3. Approval of the Application and Unlocking
To see if you managed to convince the manufacturer to unlock the bootloader on the Samsung Nexus S GT-I9023, open the request page. If approved, a confirmation will be displayed on that page.
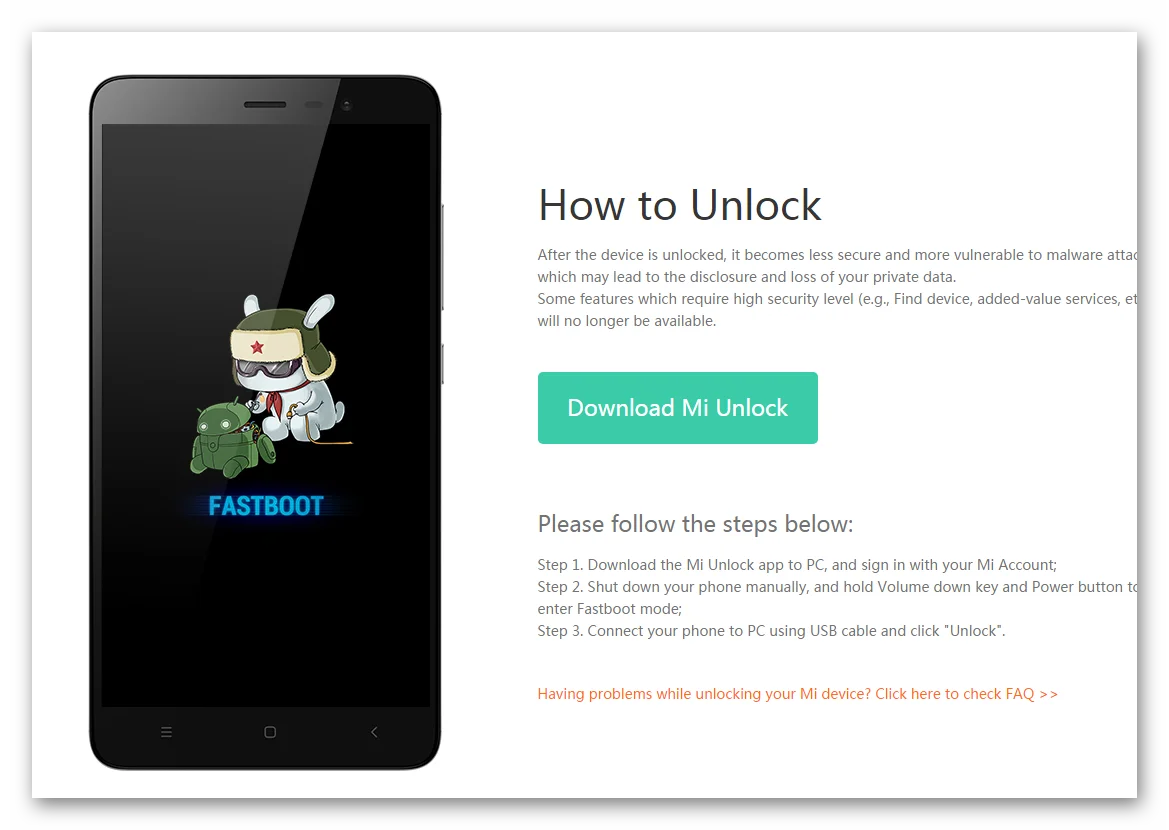
Now the user will be invited to download the software for unlocking the bootloader. It is installed via PC.
Next, you need to open the phone settings, then go to the Developers section and select the "Factory Unlock" item.
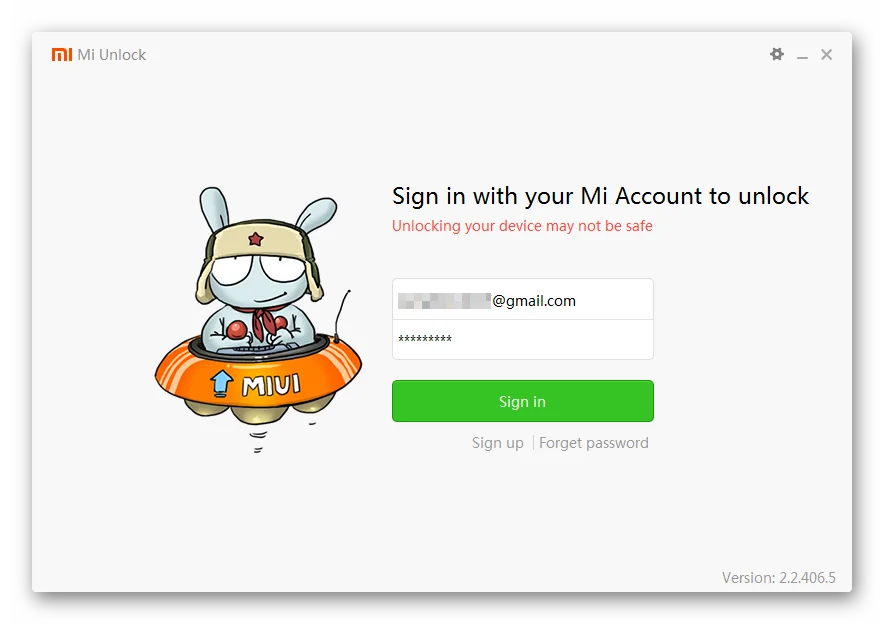
In the "Status" you need to go through authorization to the account, which was indicated on the manufacturer's website.
Now put your phone into fastboot mode and run the downloaded software on your computer.
After authorization, you need to connect your smartphone to the PC and confirm the unlocking.
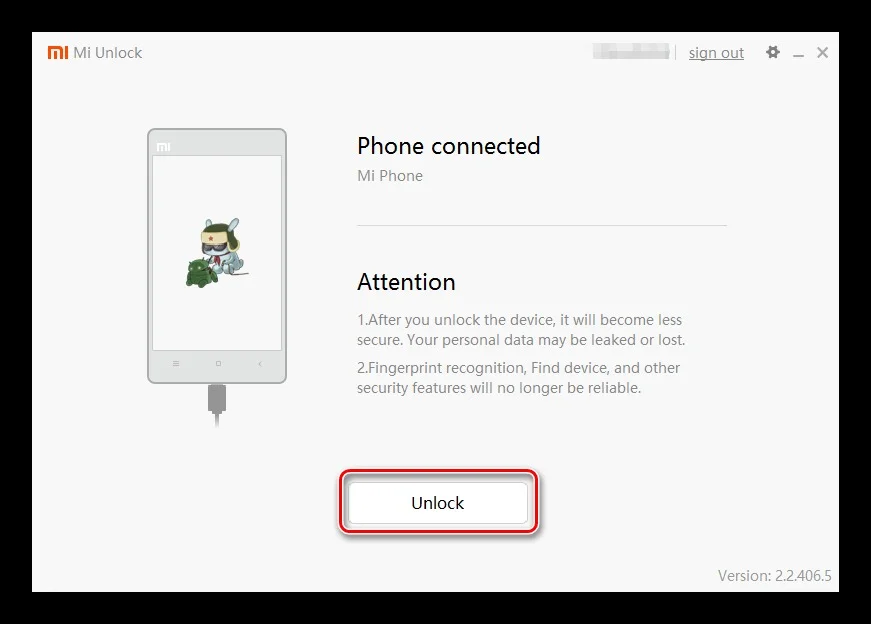
After a couple of minutes, the operation will be completed and the bootloader on the Samsung Nexus S GT-I9023 will be fully unlocked.
Share this page with your friends:See also:
How to flash Samsung Nexus S GT-I9023
How to root Samsung Nexus S GT-I9023
Hard reset for Samsung Nexus S GT-I9023
How to reboot Samsung Nexus S GT-I9023
How to unlock Samsung Nexus S GT-I9023
What to do if Samsung Nexus S GT-I9023 won't turn on
What to do if Samsung Nexus S GT-I9023 doesn't charge
What to do if Samsung Nexus S GT-I9023 doesn't connect to PC via USB
How to take a screenshot on Samsung Nexus S GT-I9023
How to reset FRP on Samsung Nexus S GT-I9023
How to call recording on Samsung Nexus S GT-I9023
How to update Samsung Nexus S GT-I9023
How to connect Samsung Nexus S GT-I9023 to TV
How to clear the cache on Samsung Nexus S GT-I9023
How to backup Samsung Nexus S GT-I9023
How to disable ads on Samsung Nexus S GT-I9023
How to clear storage on Samsung Nexus S GT-I9023
How to increase font on Samsung Nexus S GT-I9023
How to share internet on Samsung Nexus S GT-I9023
How to transfer data to Samsung Nexus S GT-I9023
How to recover photos on Samsung Nexus S GT-I9023
How to record the screen on Samsung Nexus S GT-I9023
How to find blacklist in Samsung Nexus S GT-I9023
How to set up fingerprint on Samsung Nexus S GT-I9023
How to block number on Samsung Nexus S GT-I9023
How to enable auto-rotate on Samsung Nexus S GT-I9023
How to set up or turn off an alarm on Samsung Nexus S GT-I9023
How to change ringtone on Samsung Nexus S GT-I9023
How to enable battery percentage on Samsung Nexus S GT-I9023
How to turn off notifications on Samsung Nexus S GT-I9023
How to turn off Google assistant on Samsung Nexus S GT-I9023
How to turn off the lock screen on Samsung Nexus S GT-I9023
How to delete app on Samsung Nexus S GT-I9023
How to recover contacts on Samsung Nexus S GT-I9023
Where is the recycle bin on Samsung Nexus S GT-I9023
How to install WhatsApp on Samsung Nexus S GT-I9023
How to set contact photo in Samsung Nexus S GT-I9023
How to scan QR code on Samsung Nexus S GT-I9023
How to connect Samsung Nexus S GT-I9023 to computer
How to install SD card in Samsung Nexus S GT-I9023
How to update Play Store in Samsung Nexus S GT-I9023
How to install Google Camera in Samsung Nexus S GT-I9023
How to enable USB debugging on Samsung Nexus S GT-I9023
How to turn off Samsung Nexus S GT-I9023
How to charge Samsung Nexus S GT-I9023
How to use the camera on Samsung Nexus S GT-I9023
How to find lost Samsung Nexus S GT-I9023
How to set password on Samsung Nexus S GT-I9023
How to turn on 5g on Samsung Nexus S GT-I9023
How to turn on VPN on Samsung Nexus S GT-I9023
How to install apps on Samsung Nexus S GT-I9023
How to insert a SIM card in Samsung Nexus S GT-I9023
How to enable and configure NFC on Samsung Nexus S GT-I9023
How to set time on Samsung Nexus S GT-I9023
How to connect headphones to Samsung Nexus S GT-I9023
How to clear browser history on Samsung Nexus S GT-I9023
How to disassemble Samsung Nexus S GT-I9023
How to hide an app on Samsung Nexus S GT-I9023
How to download YouTube videos on Samsung Nexus S GT-I9023
How to unblock a contact on Samsung Nexus S GT-I9023
How to turn on the flashlight on Samsung Nexus S GT-I9023
How to split the screen on Samsung Nexus S GT-I9023
How to turn off the camera sound on Samsung Nexus S GT-I9023
How to trim video on Samsung Nexus S GT-I9023
How to check RAM in Samsung Nexus S GT-I9023
How to bypass the Google account on Samsung Nexus S GT-I9023
How to fix black screen on Samsung Nexus S GT-I9023
How to change the language on Samsung Nexus S GT-I9023
How to open engineering mode in Samsung Nexus S GT-I9023
How to open recovery mode in Samsung Nexus S GT-I9023
How to find and turn on a voice recorder on Samsung Nexus S GT-I9023
How to make video calls on Samsung Nexus S GT-I9023
Samsung Nexus S GT-I9023 sim card not detected
How to transfer contacts to Samsung Nexus S GT-I9023
How to enable/disable «Do not disturb» mode on Samsung Nexus S GT-I9023
How to enable/disable answerphone on Samsung Nexus S GT-I9023
How to set up face recognition on Samsung Nexus S GT-I9023
How to set up voicemail on Samsung Nexus S GT-I9023
How to listen to voicemail on Samsung Nexus S GT-I9023
How to check the IMEI number in Samsung Nexus S GT-I9023
How to turn on fast charging on Samsung Nexus S GT-I9023
How to replace the battery on Samsung Nexus S GT-I9023
How to update the application on Samsung Nexus S GT-I9023
Why the Samsung Nexus S GT-I9023 discharges quickly
How to set a password for apps in the Samsung Nexus S GT-I9023
How to format Samsung Nexus S GT-I9023
How to install TWRP on Samsung Nexus S GT-I9023
How to set up call forwarding on Samsung Nexus S GT-I9023
How to empty the recycle bin on Samsung Nexus S GT-I9023
Where to find the clipboard on Samsung Nexus S GT-I9023
How to Unlock the Bootloader on Another Phones
