How to Clear the Cache on Blackview Shark 8
Internal memory of Blackview Shark 8 gradually fills up during usage. Users can clear the cache on the Blackview Shark 8, after which the memory will become available to its fullest capacity.
What is Cache and What is It Used for?
Cache is an intermediate storage that collects data for its faster access. Let’s look at a web browser for a clear example of the importance of such storage. For example, a Blackview Shark 8 user often visits the same site. On their first visit to the website, opening the page takes 3 seconds, and on the next visit it only takes 1 second. Thus, using cache saves time.
Cache is built up by a variety of applications. These can include browsers, image processing software, video editors, social networks and games. Despite the obvious benefits of using cache, this temporary buffer has a significant drawback. It takes up a lot of free space in the internal storage.
Since important files like account passwords or multimedia do not get stored into the cache, you can get rid of it without any consequences. As such, owners of Blackview Shark 8 will not only get additional space on their internal storage, but also speed up the device.
Ways to Clear Cache on Blackview Shark 8
Blackview Shark 8 offers its users several ways to remove excess data, including cache. The user can perform the operation both by built-in means (manually or automatically) and through special applications.
Manual Cache Clearing
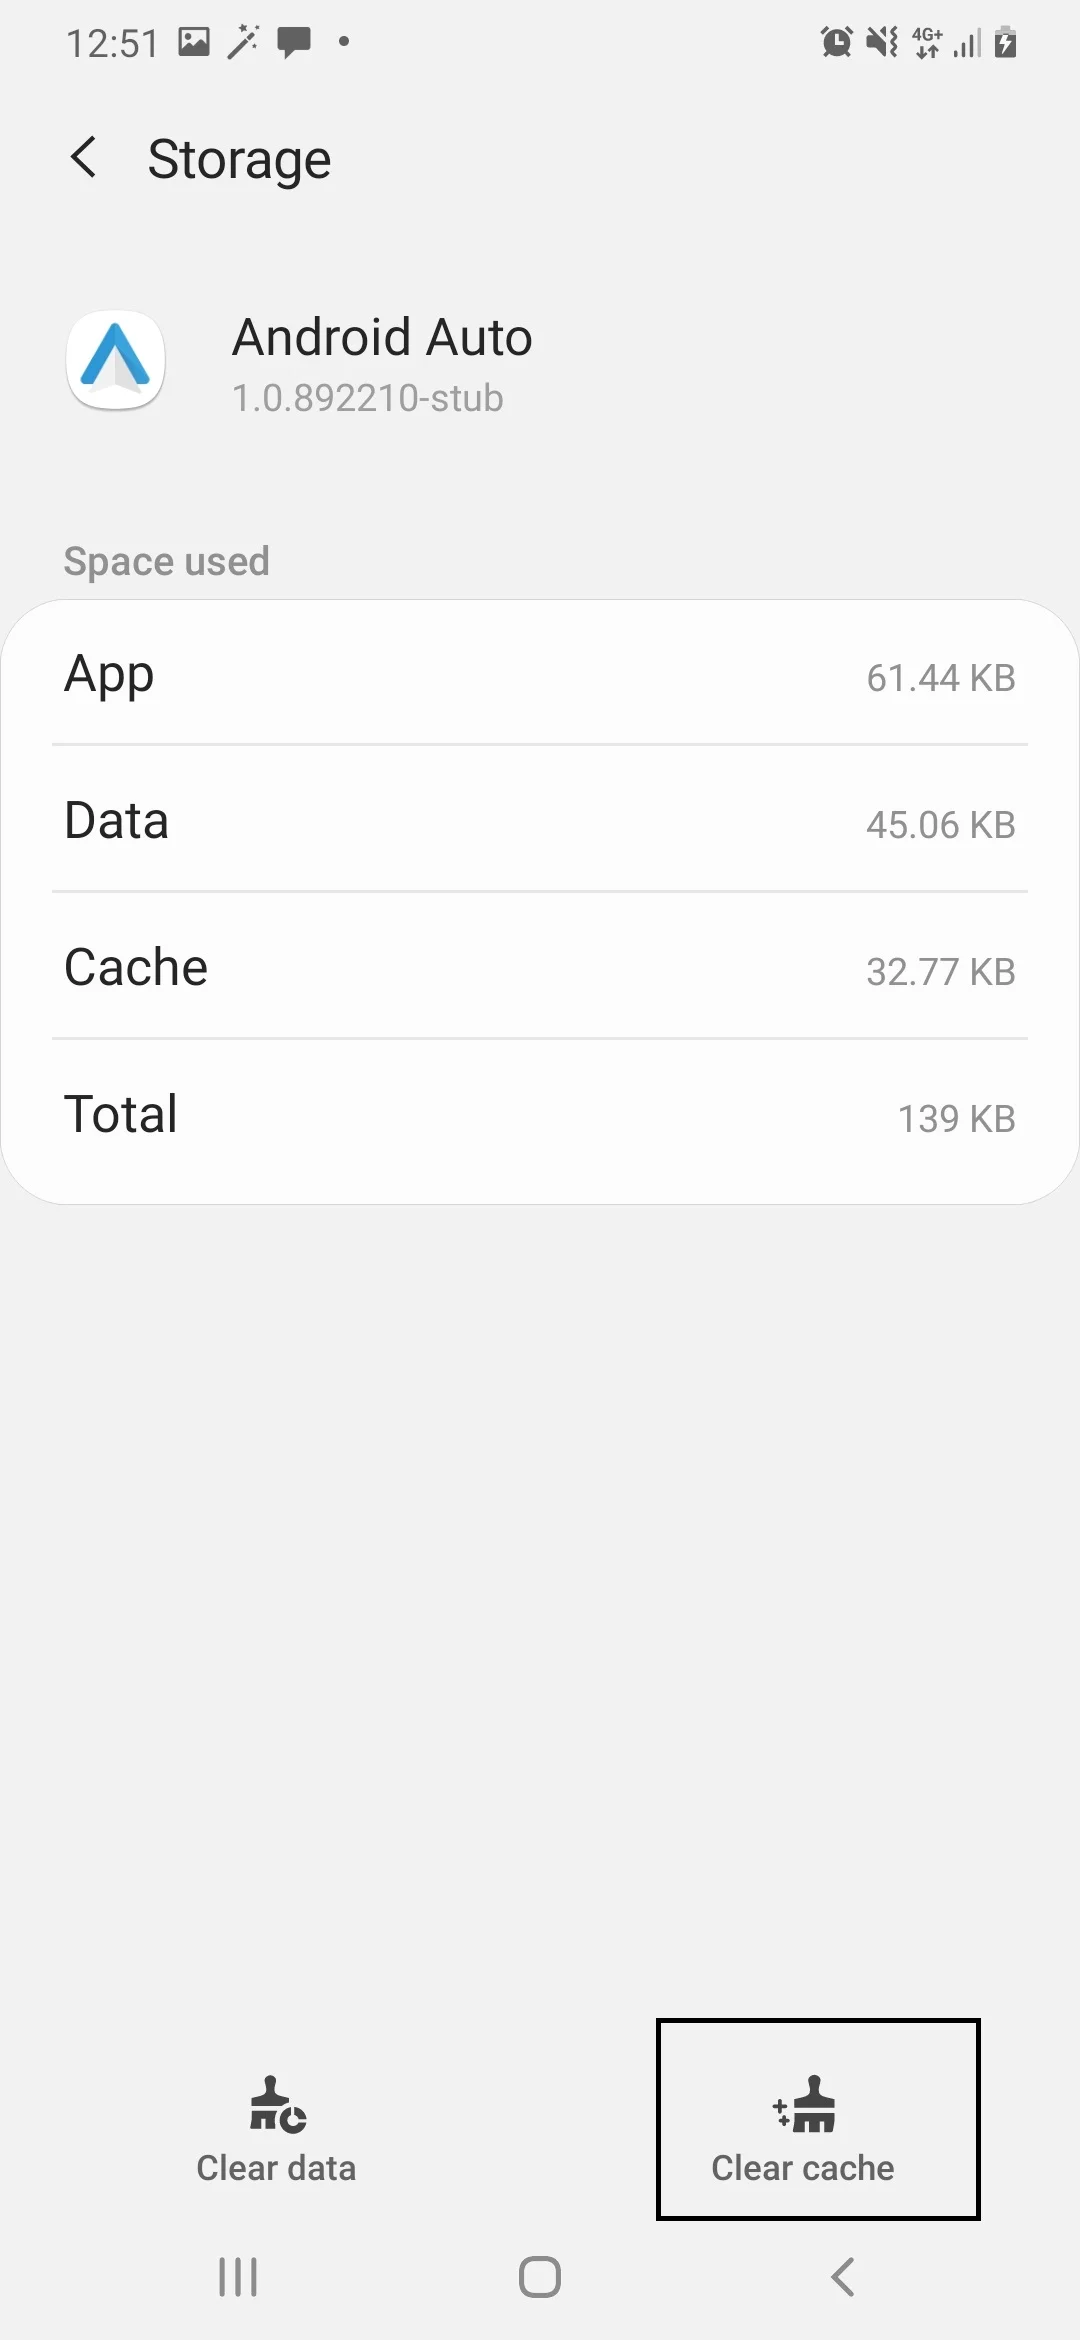
Since the temporary buffer is formed by applications, this way can be performed by manually clearing the cache of individual apps one by one. You will need to:
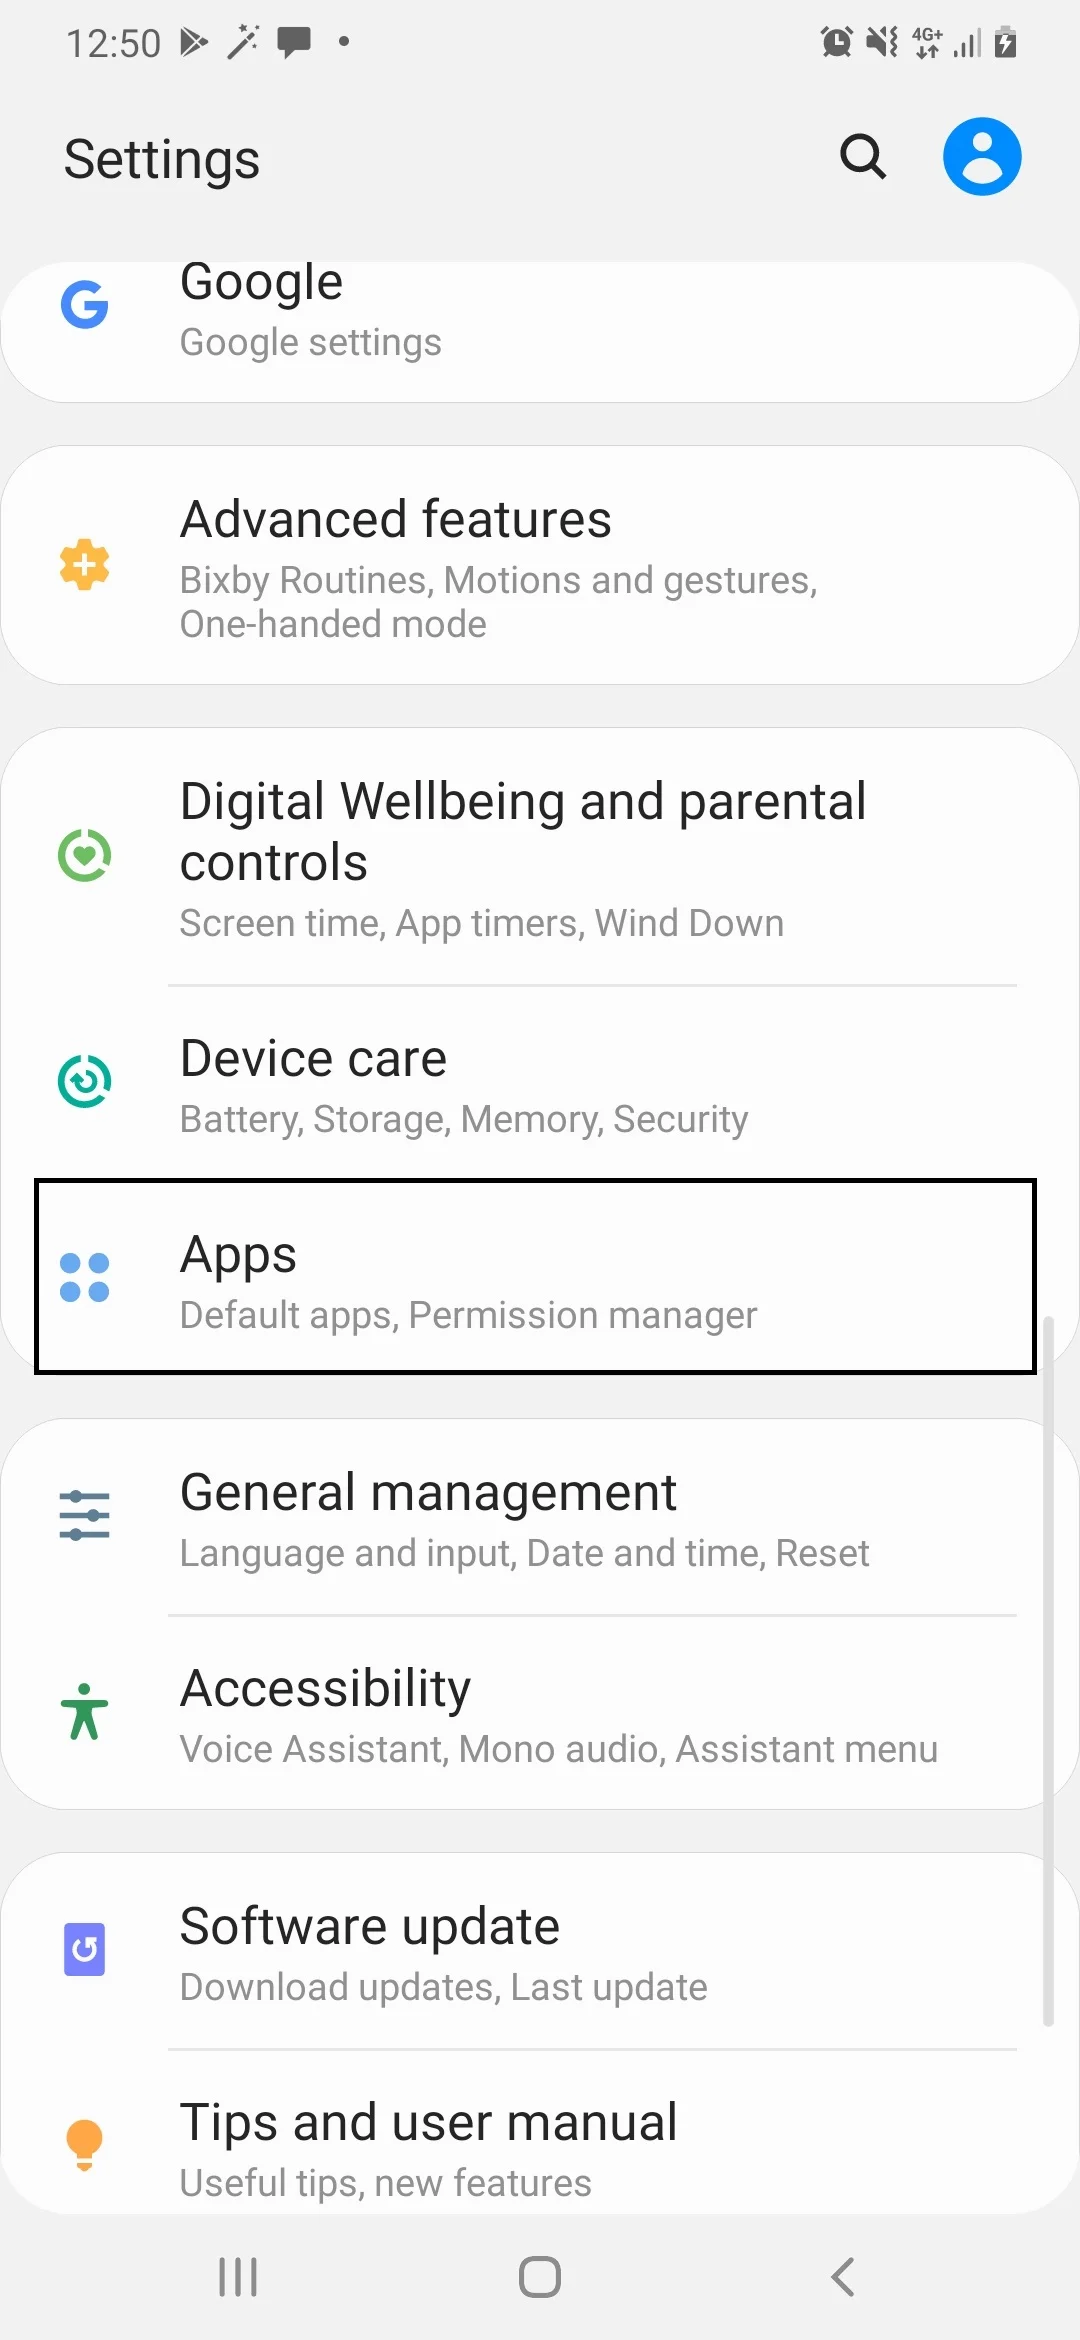
- Open the phone settings.
- Go to the Applications section.
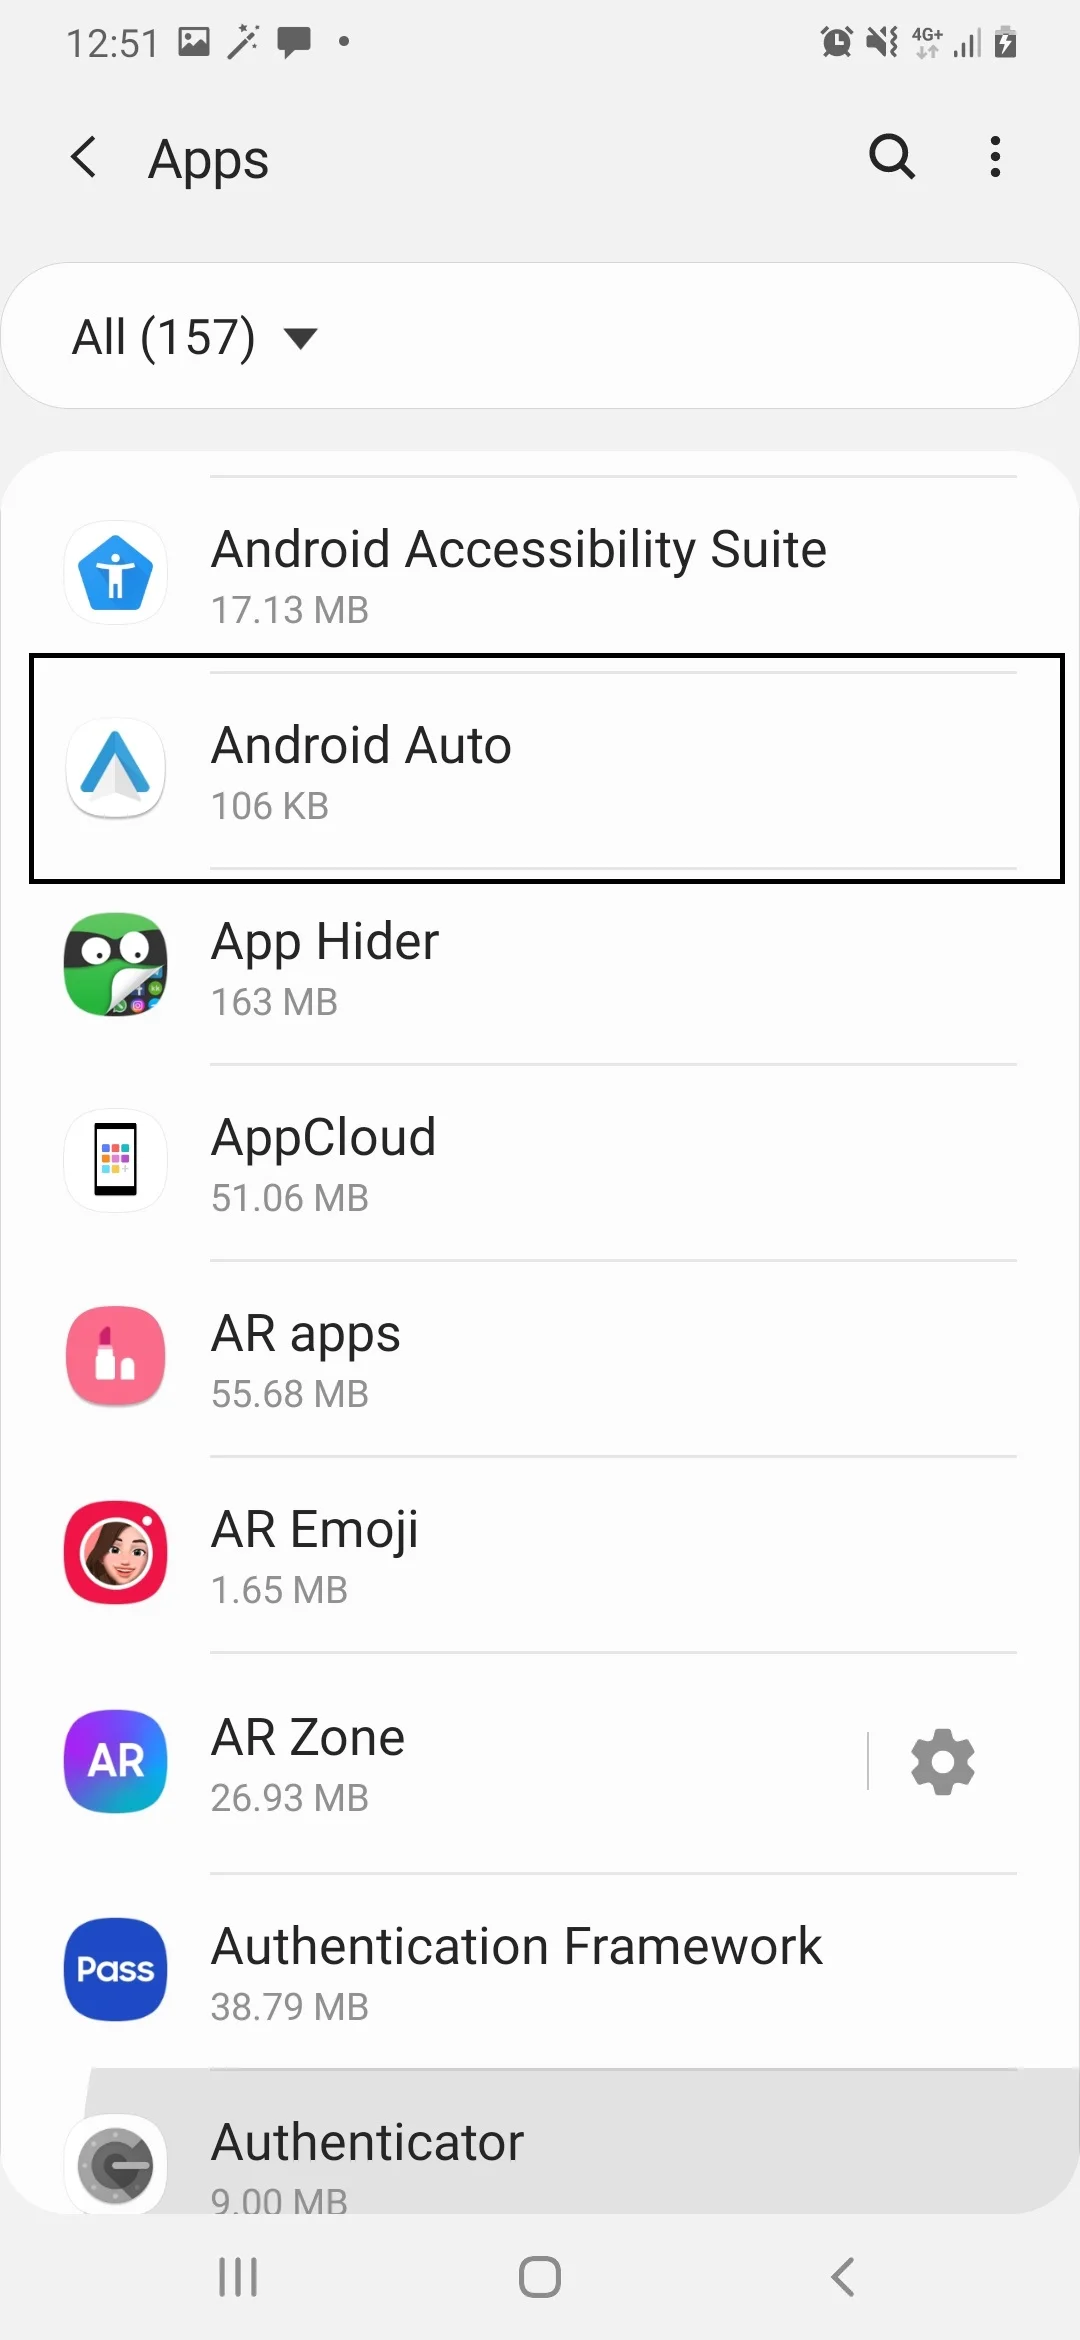
- Select the required app.
- Open the Storage section.
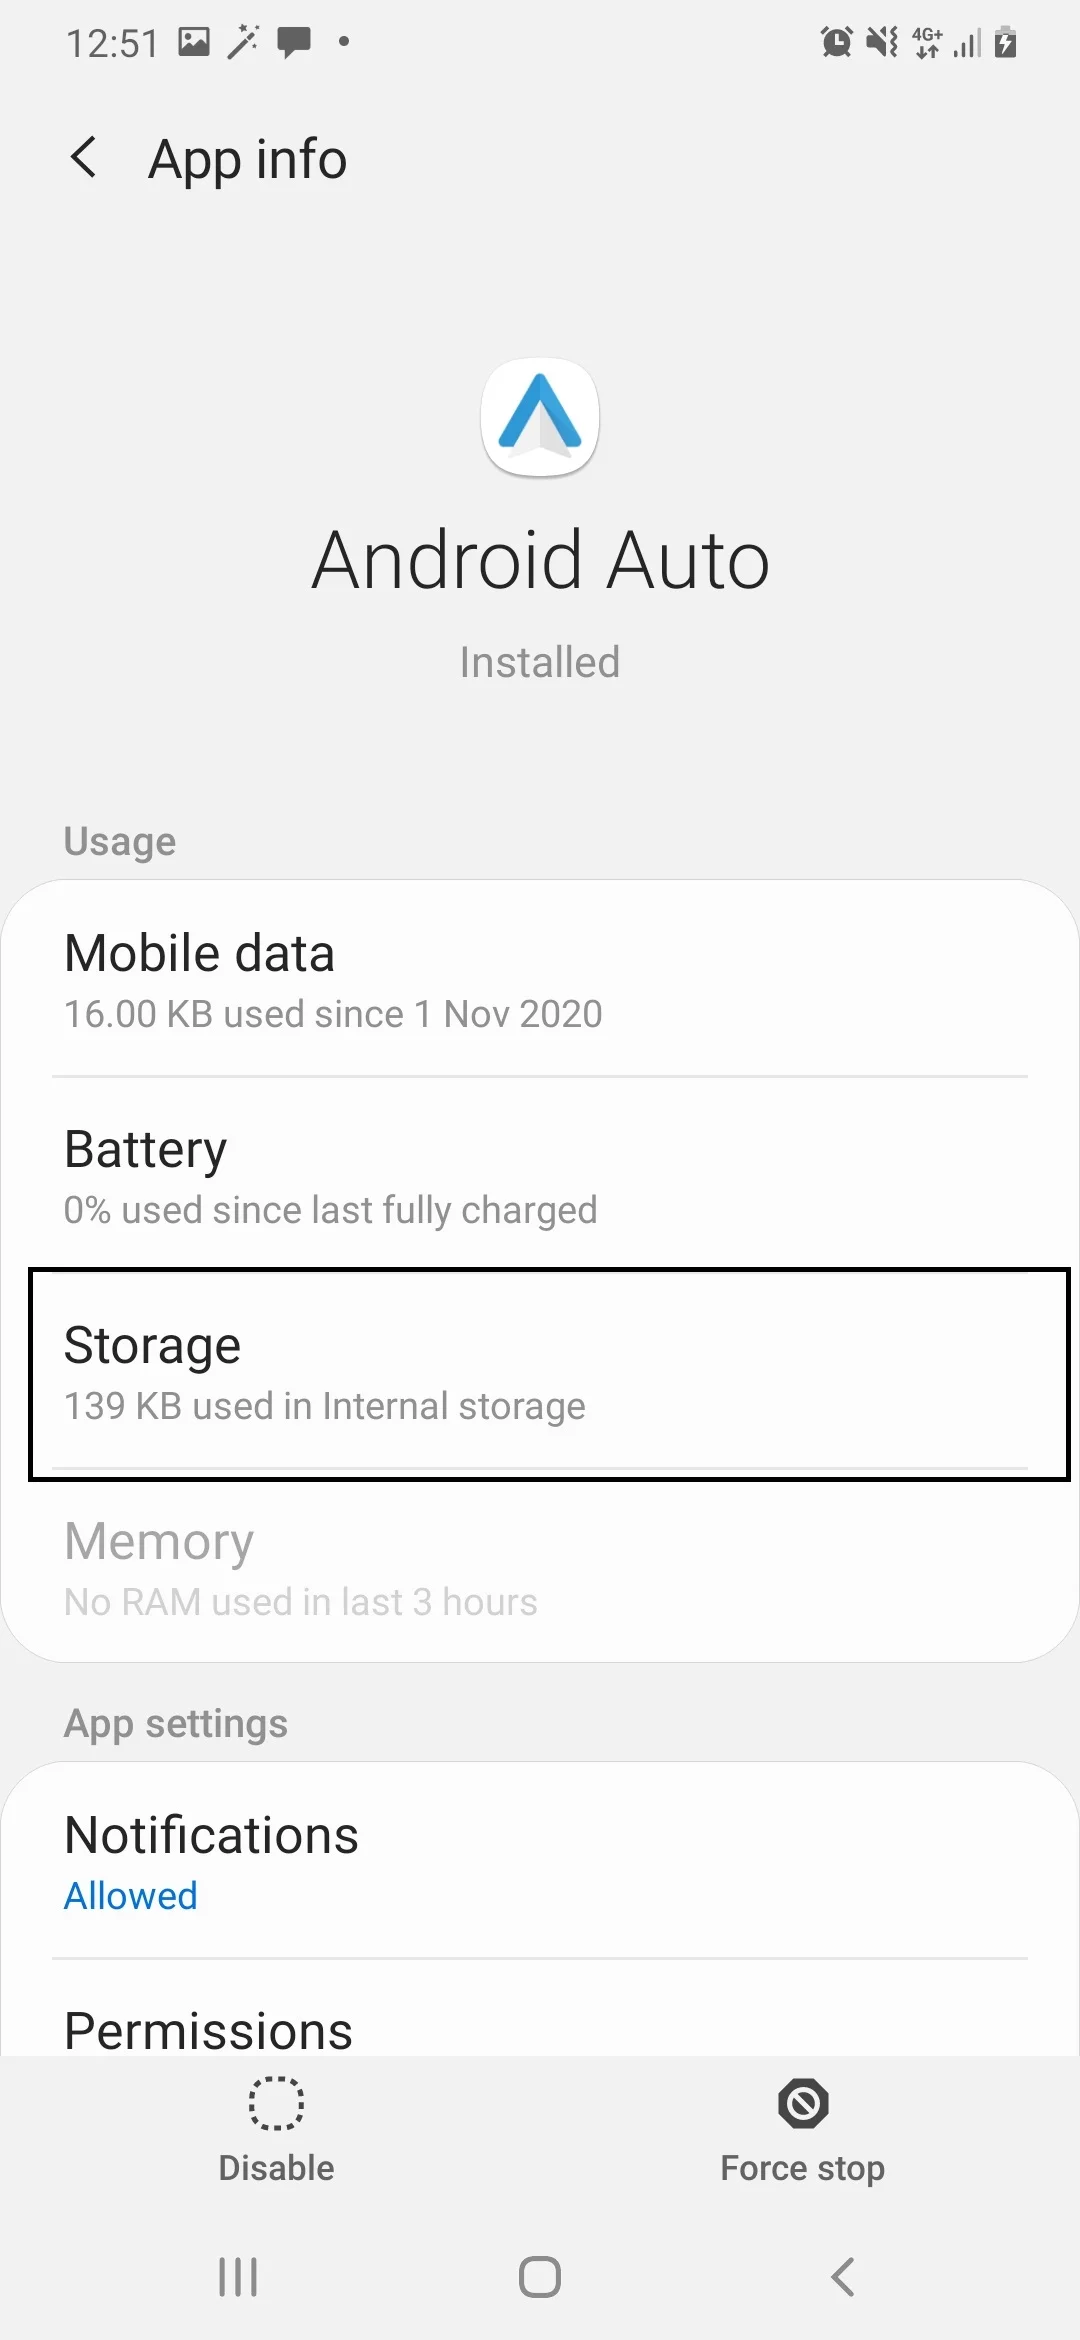
- Press the Clear cache button.
Clearing the temporary buffer should not be confused with flushing application data. Only unnecessary information gets deleted in the first case, while the second clears account settings and other important info.
Automatic Cleaning via Settings
The Blackview Shark 8 phone has a useful feature that allows you save up time by avoiding clearing the cache of individual apps. The system is able to independently determine the list of unnecessary files and delete them. To automatically remove excess data, you will need to:
- KeepClean;
- Cleaner;
- CCleaner.
All apps work on a similar basic principle. Therefore, taking a look at the way such applications function based on the example of CCleaner would be enough. The utility is one of the most popular and is available on both smartphones and PCs.
Excess data cleaning via CCleaner is performed as follows:
- Run the application and allow access to device storage.
- Press the Quick Clean button.
- Wait for the scan to finish and mark the files you want to get rid of.
- Press the Finish Clean button.
The screen will display information about the successful completion of the operation after deleting the cache. You can then uninstall CCleaner or leave the application to perform more cleanups in the future.
How Often do Users Need to Clear the Cache?
Cache is not only important data that allows you to launch applications faster, but also excess files that takes up free space in Blackview Shark 8’s storage. The temporary buffer is replenished daily, and the rate at which new excess data appears depends on how actively the owner uses their smartphone.
As a preventive measure, it is recommended to clean the cache monthly. But in some situations, disposal of such excess data is strongly required. For example, if:
- the device is buggy and unstable;
- the internal storage has less than 20% free space;
- individual applications do not launch.
If none of the conditions are met, you can safely do without clearing the cache. But keep in mind that large amount of excess data may present itself at the most inopportune moment, so you should not forget about preventive measures.
Share this page with your friends:See also:
How to flash Blackview Shark 8
How to root Blackview Shark 8
Hard reset for Blackview Shark 8
How to reboot Blackview Shark 8
How to unlock Blackview Shark 8
What to do if Blackview Shark 8 won't turn on
What to do if Blackview Shark 8 doesn't charge
What to do if Blackview Shark 8 doesn't connect to PC via USB
How to take a screenshot on Blackview Shark 8
How to reset FRP on Blackview Shark 8
How to call recording on Blackview Shark 8
How to update Blackview Shark 8
How to connect Blackview Shark 8 to TV
How to backup Blackview Shark 8
How to disable ads on Blackview Shark 8
How to clear storage on Blackview Shark 8
How to increase font on Blackview Shark 8
How to share internet on Blackview Shark 8
How to transfer data to Blackview Shark 8
How to unlock bootloader on Blackview Shark 8
How to recover photos on Blackview Shark 8
How to record the screen on Blackview Shark 8
How to find blacklist in Blackview Shark 8
How to set up fingerprint on Blackview Shark 8
How to block number on Blackview Shark 8
How to enable auto-rotate on Blackview Shark 8
How to set up or turn off an alarm on Blackview Shark 8
How to change ringtone on Blackview Shark 8
How to enable battery percentage on Blackview Shark 8
How to turn off notifications on Blackview Shark 8
How to turn off Google assistant on Blackview Shark 8
How to turn off the lock screen on Blackview Shark 8
How to delete app on Blackview Shark 8
How to recover contacts on Blackview Shark 8
Where is the recycle bin on Blackview Shark 8
How to install WhatsApp on Blackview Shark 8
How to set contact photo in Blackview Shark 8
How to scan QR code on Blackview Shark 8
How to connect Blackview Shark 8 to computer
How to install SD card in Blackview Shark 8
How to update Play Store in Blackview Shark 8
How to install Google Camera in Blackview Shark 8
How to enable USB debugging on Blackview Shark 8
How to turn off Blackview Shark 8
How to charge Blackview Shark 8
How to use the camera on Blackview Shark 8
How to find lost Blackview Shark 8
How to set password on Blackview Shark 8
How to turn on 5g on Blackview Shark 8
How to turn on VPN on Blackview Shark 8
How to install apps on Blackview Shark 8
How to insert a SIM card in Blackview Shark 8
How to enable and configure NFC on Blackview Shark 8
How to set time on Blackview Shark 8
How to connect headphones to Blackview Shark 8
How to clear browser history on Blackview Shark 8
How to disassemble Blackview Shark 8
How to hide an app on Blackview Shark 8
How to download YouTube videos on Blackview Shark 8
How to unblock a contact on Blackview Shark 8
How to turn on the flashlight on Blackview Shark 8
How to split the screen on Blackview Shark 8
How to turn off the camera sound on Blackview Shark 8
How to trim video on Blackview Shark 8
How to check RAM in Blackview Shark 8
How to bypass the Google account on Blackview Shark 8
How to fix black screen on Blackview Shark 8
How to change the language on Blackview Shark 8
How to open engineering mode in Blackview Shark 8
How to open recovery mode in Blackview Shark 8
How to find and turn on a voice recorder on Blackview Shark 8
How to make video calls on Blackview Shark 8
Blackview Shark 8 sim card not detected
How to transfer contacts to Blackview Shark 8
How to enable/disable «Do not disturb» mode on Blackview Shark 8
How to enable/disable answerphone on Blackview Shark 8
How to set up face recognition on Blackview Shark 8
How to set up voicemail on Blackview Shark 8
How to listen to voicemail on Blackview Shark 8
How to check the IMEI number in Blackview Shark 8
How to turn on fast charging on Blackview Shark 8
How to replace the battery on Blackview Shark 8
How to update the application on Blackview Shark 8
Why the Blackview Shark 8 discharges quickly
How to set a password for apps in the Blackview Shark 8
How to format Blackview Shark 8
How to install TWRP on Blackview Shark 8
How to set up call forwarding on Blackview Shark 8
How to empty the recycle bin on Blackview Shark 8
Where to find the clipboard on Blackview Shark 8
How to Clear the Cache on Another Phones
