How to Connect Philips S561 to Computer
Although Philips S561 is a self-sufficient and functional device, it cannot be considered in isolation from a computer. You'll agree that watching films or editing photos, for example, is much more comfortable on a PC screen.
How to connect Philips S561 to computer via USB
The easiest and most reliable option for connecting Philips S561 to your PC is to use the USB connector that both the phone and the PC have. To do this you will need:
- Insert one part of the cable into the phone and the other part into the PC.
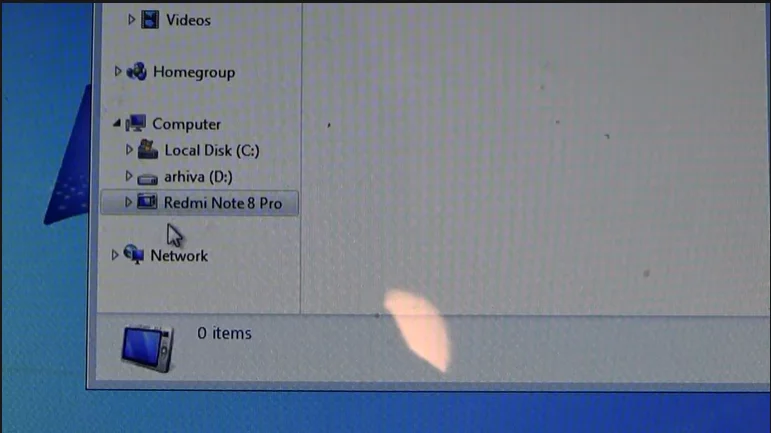
- Open "Computer" on the PC.
- Go to the folder with the name of the phone.
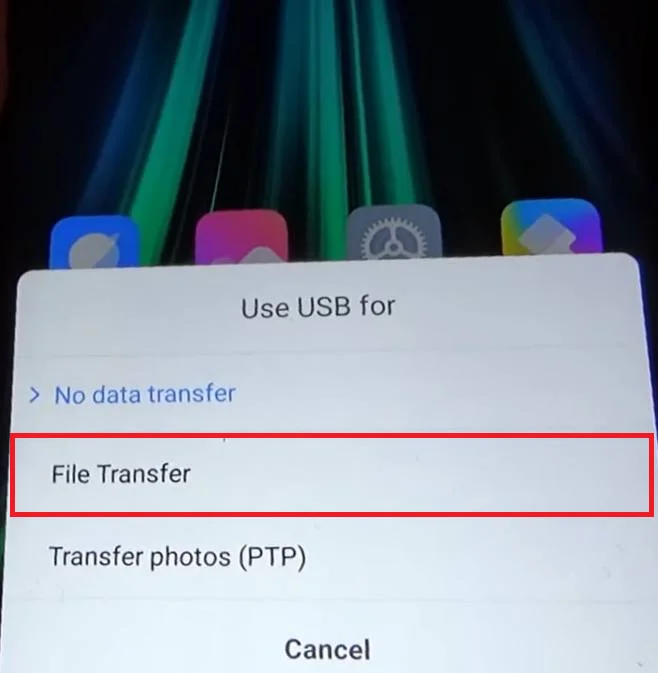
Note that by default Philips S561 only charges via USB. To set up data transfer, you need to activate the relevant option in the USB connection settings. A prompt to make changes to the settings also appears when you connect.
How to connect Philips S561 to computer via Wi-Fi
This method is less reliable, as the quality of the wireless connection depends directly on the speed of the Internet. However, you will not have the disadvantage of extra cables that are constantly breaking and getting in the way.
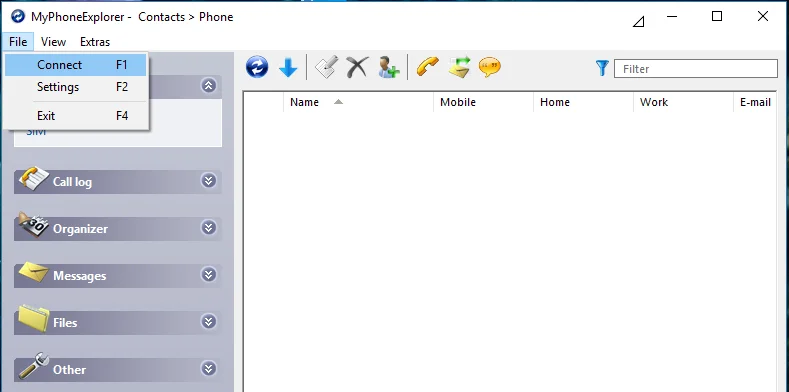
To set up a Wi-Fi connection, you need to install special software on your Android smartphone and PC. As an example, consider My Phone Explorer:
- Install the software on your computer and Philips S561.
- Connect both devices to the same Wi-Fi network.
- Run the app on the phone.
- Also open the app on your PC and select the "Connect" option.
- Wait until the synchronization is completed.
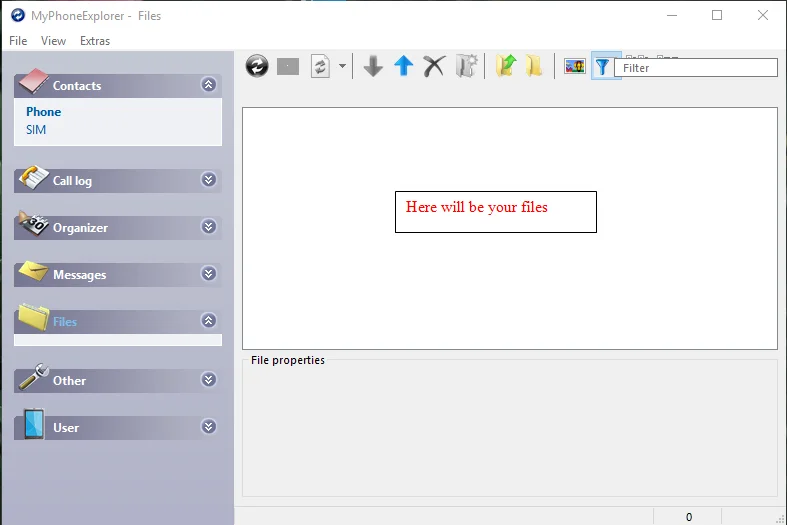
- Open the folder of interest and follow the necessary steps.
You can also use other FTP server applications to connect. To do so, simply enter the relevant search query in the Play Store and all available programmes will be displayed.
Workaround
If you're having trouble setting up the connection due to various problems, whether it's a broken cable or a lack of Wi-Fi, you can go the workaround. This option is suitable for those who plan to transfer a file from Philips S561 to a PC or vice versa.
In this case, the use of auxiliary tools is recommended. For example, cloud storage. Upload a file to the cloud on your computer and then upload it to your phone by logging in to the same account. You can do the same via email by sending the file to the same box.
Share this page with your friends:See also:
How to flash Philips S561
How to root Philips S561
Hard reset for Philips S561
How to reboot Philips S561
How to unlock Philips S561
What to do if Philips S561 won't turn on
What to do if Philips S561 doesn't charge
What to do if Philips S561 doesn't connect to PC via USB
How to take a screenshot on Philips S561
How to reset FRP on Philips S561
How to call recording on Philips S561
How to update Philips S561
How to connect Philips S561 to TV
How to clear the cache on Philips S561
How to backup Philips S561
How to disable ads on Philips S561
How to clear storage on Philips S561
How to increase font on Philips S561
How to share internet on Philips S561
How to transfer data to Philips S561
How to unlock bootloader on Philips S561
How to recover photos on Philips S561
How to record the screen on Philips S561
How to find blacklist in Philips S561
How to set up fingerprint on Philips S561
How to block number on Philips S561
How to enable auto-rotate on Philips S561
How to set up or turn off an alarm on Philips S561
How to change ringtone on Philips S561
How to enable battery percentage on Philips S561
How to turn off notifications on Philips S561
How to turn off Google assistant on Philips S561
How to turn off the lock screen on Philips S561
How to delete app on Philips S561
How to recover contacts on Philips S561
Where is the recycle bin on Philips S561
How to install WhatsApp on Philips S561
How to set contact photo in Philips S561
How to scan QR code on Philips S561
How to install SD card in Philips S561
How to update Play Store in Philips S561
How to install Google Camera in Philips S561
How to enable USB debugging on Philips S561
How to turn off Philips S561
How to charge Philips S561
How to use the camera on Philips S561
How to find lost Philips S561
How to set password on Philips S561
How to turn on 5g on Philips S561
How to turn on VPN on Philips S561
How to install apps on Philips S561
How to insert a SIM card in Philips S561
How to enable and configure NFC on Philips S561
How to set time on Philips S561
How to connect headphones to Philips S561
How to clear browser history on Philips S561
How to disassemble Philips S561
How to hide an app on Philips S561
How to download YouTube videos on Philips S561
How to unblock a contact on Philips S561
How to turn on the flashlight on Philips S561
How to split the screen on Philips S561
How to turn off the camera sound on Philips S561
How to trim video on Philips S561
How to check RAM in Philips S561
How to bypass the Google account on Philips S561
How to fix black screen on Philips S561
How to change the language on Philips S561
How to open engineering mode in Philips S561
How to open recovery mode in Philips S561
How to find and turn on a voice recorder on Philips S561
How to make video calls on Philips S561
Philips S561 sim card not detected
How to transfer contacts to Philips S561
How to enable/disable «Do not disturb» mode on Philips S561
How to enable/disable answerphone on Philips S561
How to set up face recognition on Philips S561
How to set up voicemail on Philips S561
How to listen to voicemail on Philips S561
How to check the IMEI number in Philips S561
How to turn on fast charging on Philips S561
How to replace the battery on Philips S561
How to update the application on Philips S561
Why the Philips S561 discharges quickly
How to set a password for apps in the Philips S561
How to format Philips S561
How to install TWRP on Philips S561
How to set up call forwarding on Philips S561
How to empty the recycle bin on Philips S561
Where to find the clipboard on Philips S561
How to Connect to Computer Another Phones
