How to Enable/Disable «Do not Disturb» Mode on Blackview P10000 Pro
Sometimes we all want to be in silence to rest in peace. To do this, a special sleep function has been invented in all phones on the android platform. When it is activated, everyone trying to call you will hear an answering machine instead of beeps. This is very convenient, because if a person wants to tell you something important, he will be able to leave a voice message. When the phone starts working normally again, you will be able to see all missed calls and messages.
What is the «Do not disturb» mode for?
This is a useful feature that allows you to temporarily make the phone unavailable to everyone or accept incoming messages only from selected users. At the same time, continue to freely use all phone programs, including outgoing calls. Alarms and reminders will continue to work as usual. It is enough to set the parameters once, and the system itself will run this option. It can also be turned on and off manually when necessary by pressing just one button.
How to enable the «Do not disturb» mode on Blackview P10000 Pro
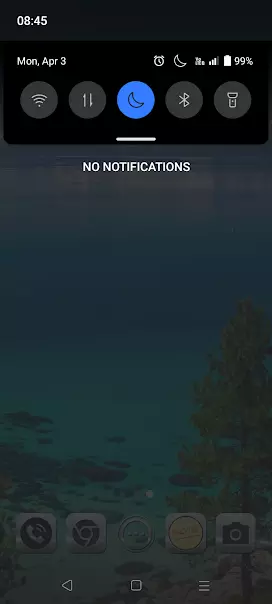
To activate this function indefinitely, simply lower the «curtain» and click the «crescent» icon.
How to disable the «Do not disturb» mode on Blackview P10000 Pro
This mode is turned off in the same way. The main thing to remember is that by launching it in this way, the smartphone will become unavailable for incoming and notifications until you turn it off yourself.
Additional settings
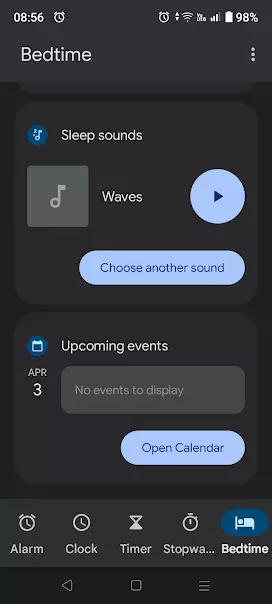
To receive reminders about scheduled events, you need to open access to the «Calendar» application.
Click the «Continue» button, the system requests confirmation, we allow and see all upcoming events.
Selecting audio sources
When the sleep mode is activated, can configure the automatic inclusion of your chosen melody for easy falling asleep. Click the «Select audio» button.
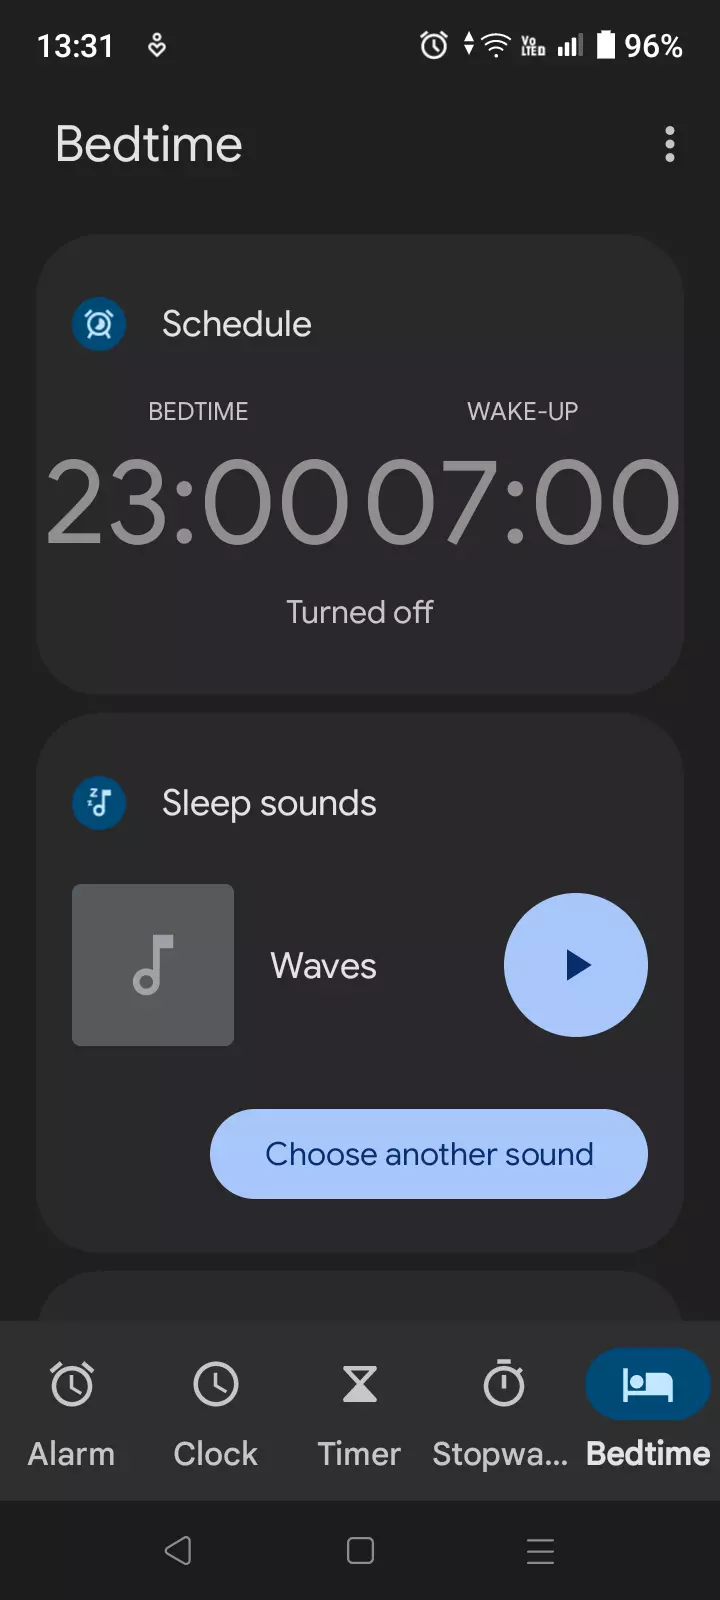
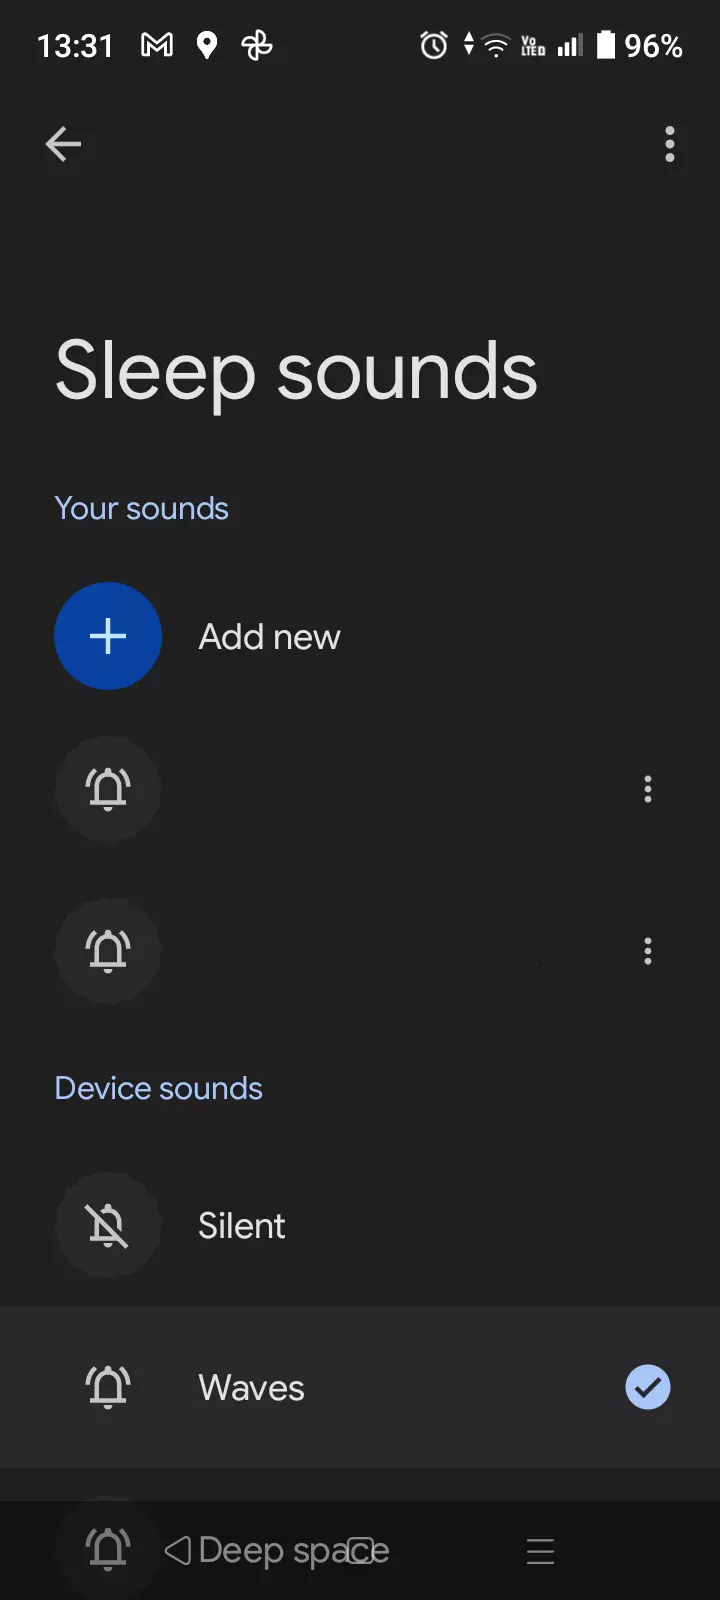
A list of standard melodies will open. You can select from those offered by the system or click on the «plus sign» and open the track from the storage.
Setting the time interval
It is possible to set a certain interval when complete rest is required. The program, at a given time, will block incoming notifications and turn on when necessary.
To set it up, go to the «Clock», click on the icon with the sleeping a little man. Next, we set the shutdown time. It is signed «Sleep mode». And the time when the phone will be in the access zone again is marked «Wake up».

When the sleep program is activated, it is possible to additionally turn it on or off by clicking the crescent moon icon in the «curtain».
Notification of important calls and messages
It is important to always be in touch with some people. To keep in touch with them even during the rest, you need to add their numbers to your favorites. Go to the «Contacts», click the «asterisk» in the upper right corner of the subscriber card.
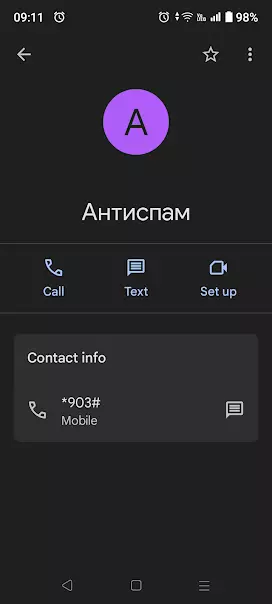
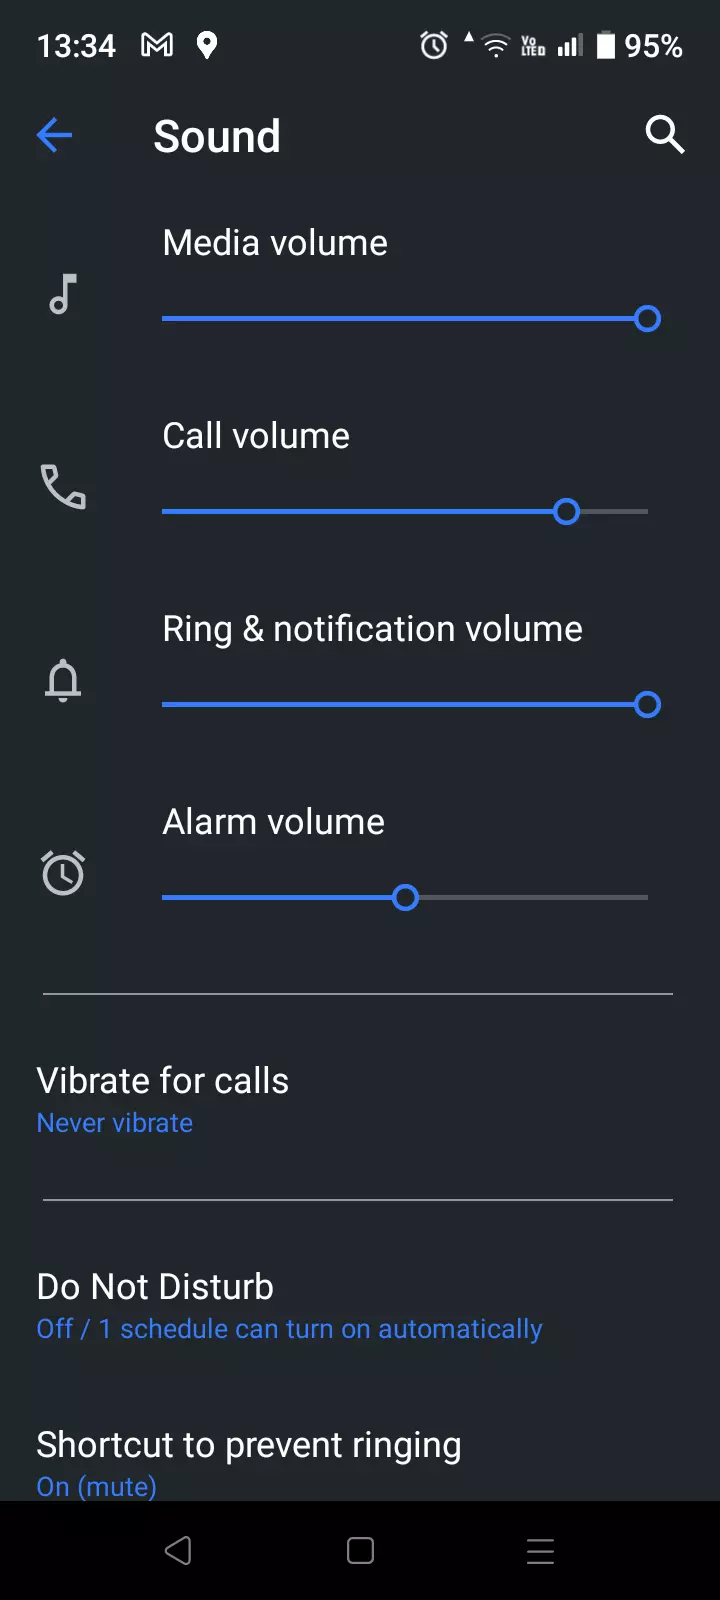
To check the favorites list, go to «Settings», go to the «Sound» tab, find «Do not disturb». The menu opens:
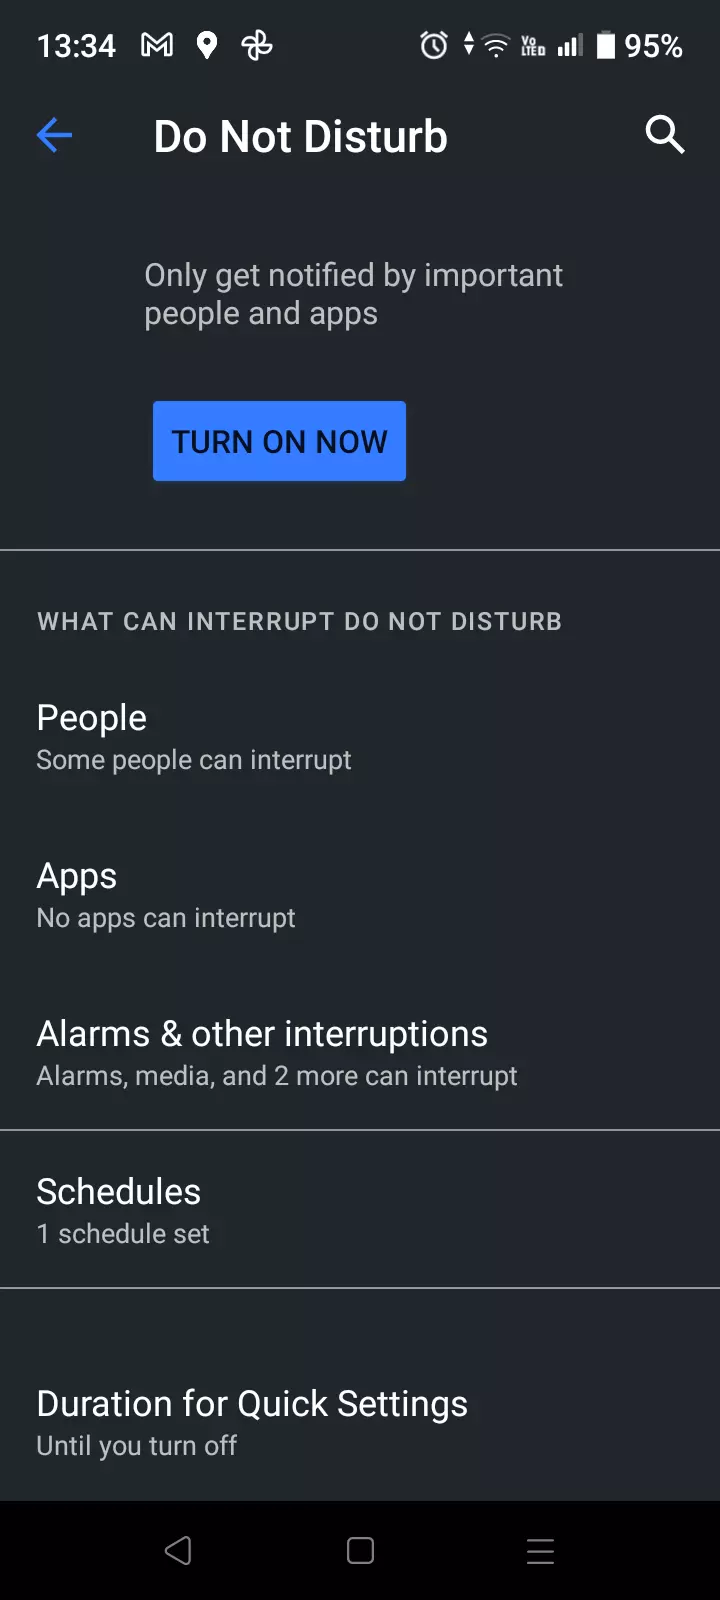
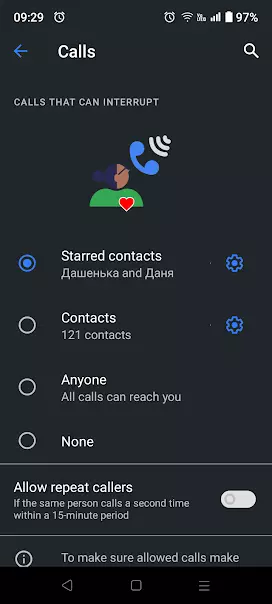
In the «Users» section, you can choose what to receive from your favorite contacts, calls, or messages.
Going back, you can mark which applications to receive notifications from. It is also possible to edit, alerts clock, calendar reminders.
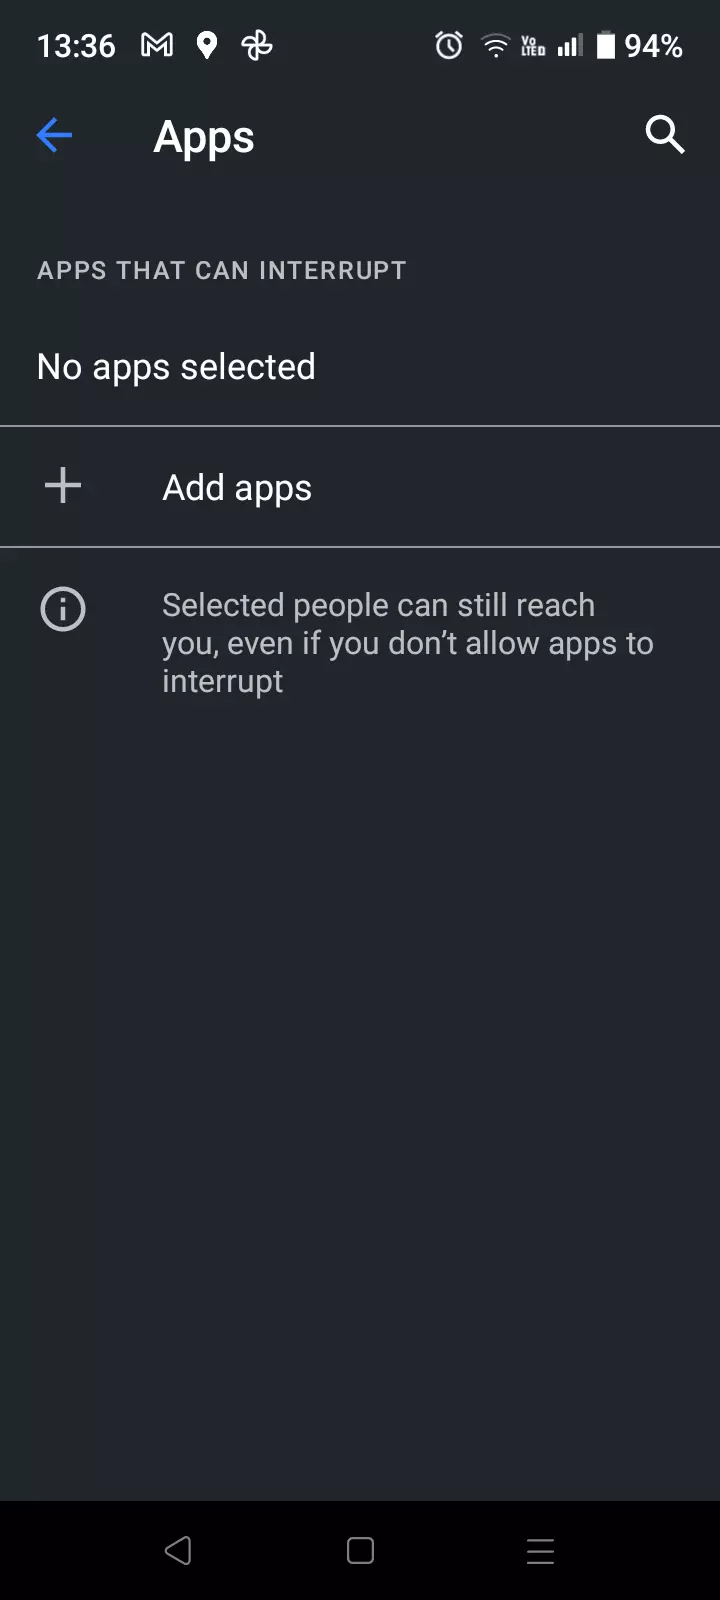
It will be useful to activate the sounds of applications that play videos and calmly watch your favorite movie before going to bed. If this is not done, the video, when the sleep function is running, will be played without sound. And you won't be able to just listen to music.
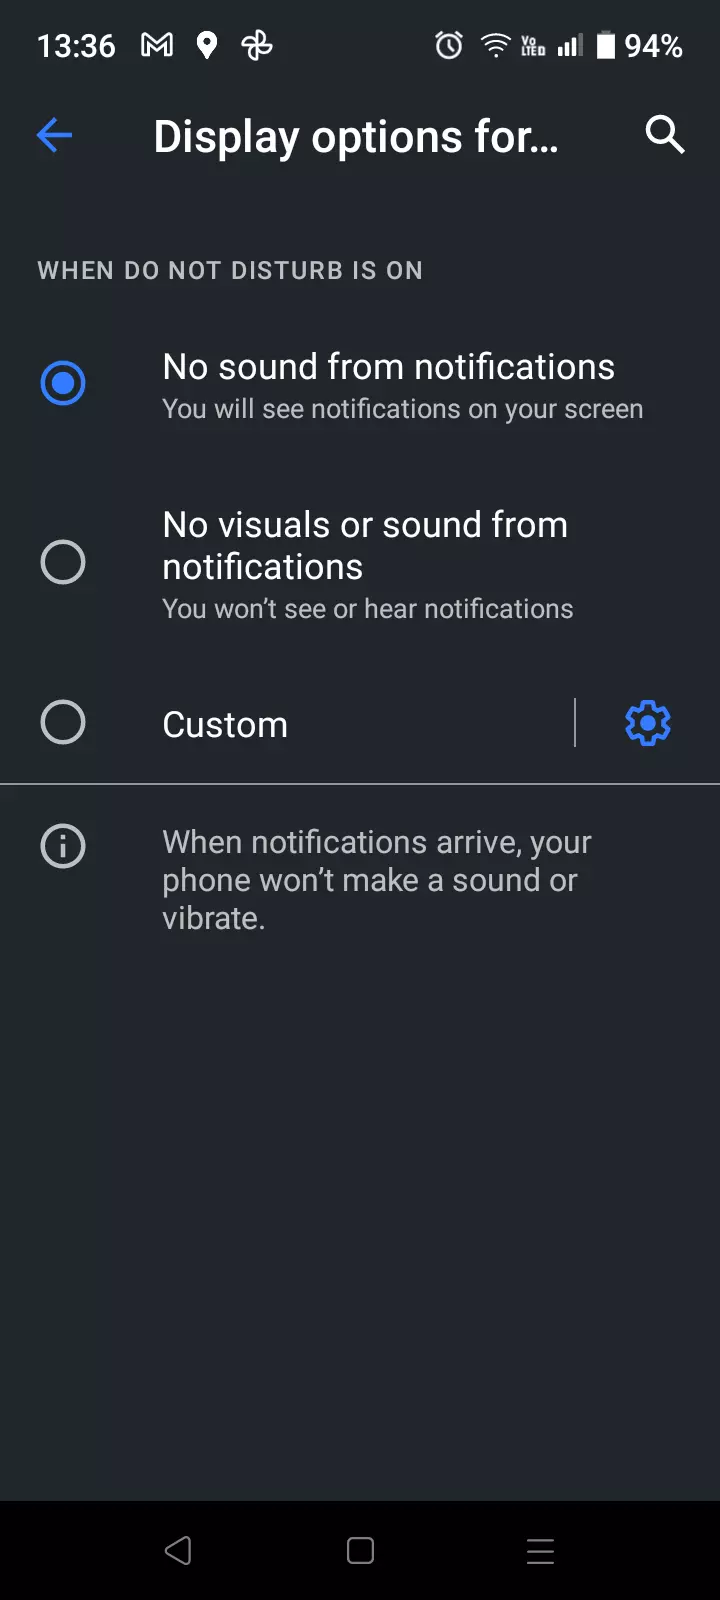
If you are afraid to miss information while you are resting, select «Show hidden notifications» in the same settings. Check the box to mute the sound and vibration, while the information will still be displayed on the screen.
 Share this page with your friends:
 See also:
How to flash Blackview P10000 Pro
How to root Blackview P10000 Pro
Hard reset for Blackview P10000 Pro
How to reboot Blackview P10000 Pro
How to unlock Blackview P10000 Pro
What to do if Blackview P10000 Pro won't turn on
What to do if Blackview P10000 Pro doesn't charge
What to do if Blackview P10000 Pro doesn't connect to PC via USB
How to take a screenshot on Blackview P10000 Pro
How to reset FRP on Blackview P10000 Pro
How to call recording on Blackview P10000 Pro
How to update Blackview P10000 Pro
How to connect Blackview P10000 Pro to TV
How to clear the cache on Blackview P10000 Pro
How to backup Blackview P10000 Pro
How to disable ads on Blackview P10000 Pro
How to clear storage on Blackview P10000 Pro
How to increase font on Blackview P10000 Pro
How to share internet on Blackview P10000 Pro
How to transfer data to Blackview P10000 Pro
How to unlock bootloader on Blackview P10000 Pro
How to recover photos on Blackview P10000 Pro
How to record the screen on Blackview P10000 Pro
How to find blacklist in Blackview P10000 Pro
How to set up fingerprint on Blackview P10000 Pro
How to block number on Blackview P10000 Pro
How to enable auto-rotate on Blackview P10000 Pro
How to set up or turn off an alarm on Blackview P10000 Pro
How to change ringtone on Blackview P10000 Pro
How to enable battery percentage on Blackview P10000 Pro
How to turn off notifications on Blackview P10000 Pro
How to turn off Google assistant on Blackview P10000 Pro
How to turn off the lock screen on Blackview P10000 Pro
How to delete app on Blackview P10000 Pro
How to recover contacts on Blackview P10000 Pro
Where is the recycle bin on Blackview P10000 Pro
How to install WhatsApp on Blackview P10000 Pro
How to set contact photo in Blackview P10000 Pro
How to scan QR code on Blackview P10000 Pro
How to connect Blackview P10000 Pro to computer
How to install SD card in Blackview P10000 Pro
How to update Play Store in Blackview P10000 Pro
How to install Google Camera in Blackview P10000 Pro
How to enable USB debugging on Blackview P10000 Pro
How to turn off Blackview P10000 Pro
How to charge Blackview P10000 Pro
How to use the camera on Blackview P10000 Pro
How to find lost Blackview P10000 Pro
How to set password on Blackview P10000 Pro
How to turn on 5g on Blackview P10000 Pro
How to turn on VPN on Blackview P10000 Pro
How to install apps on Blackview P10000 Pro
How to insert a SIM card in Blackview P10000 Pro
How to enable and configure NFC on Blackview P10000 Pro
How to set time on Blackview P10000 Pro
How to connect headphones to Blackview P10000 Pro
How to clear browser history on Blackview P10000 Pro
How to disassemble Blackview P10000 Pro
How to hide an app on Blackview P10000 Pro
How to download YouTube videos on Blackview P10000 Pro
How to unblock a contact on Blackview P10000 Pro
How to turn on the flashlight on Blackview P10000 Pro
How to split the screen on Blackview P10000 Pro
How to turn off the camera sound on Blackview P10000 Pro
How to trim video on Blackview P10000 Pro
How to bypass the Google account on Blackview P10000 Pro
How to fix black screen on Blackview P10000 Pro
How to change the language on Blackview P10000 Pro
How to open engineering mode in Blackview P10000 Pro
How to open recovery mode in Blackview P10000 Pro
How to find and turn on a voice recorder on Blackview P10000 Pro
How to make video calls on Blackview P10000 Pro
Blackview P10000 Pro sim card not detected
How to transfer contacts to Blackview P10000 Pro
How to enable/disable answerphone on Blackview P10000 Pro
How to set up face recognition on Blackview P10000 Pro
How to set up voicemail on Blackview P10000 Pro
How to listen to voicemail on Blackview P10000 Pro
How to check the IMEI number in Blackview P10000 Pro
How to turn on fast charging on Blackview P10000 Pro
How to replace the battery on Blackview P10000 Pro
How to update the application on Blackview P10000 Pro
Why the Blackview P10000 Pro discharges quickly
How to set a password for apps in the Blackview P10000 Pro
How to format Blackview P10000 Pro
How to install TWRP on Blackview P10000 Pro
How to set up call forwarding on Blackview P10000 Pro
How to empty the recycle bin on Blackview P10000 Pro
Where to find the clipboard on Blackview P10000 Pro
How to Enable/Disable «Do not Disturb» Mode on Another Phones
