Blackview A200 Pro Doesn’t Connect to PC Via USB
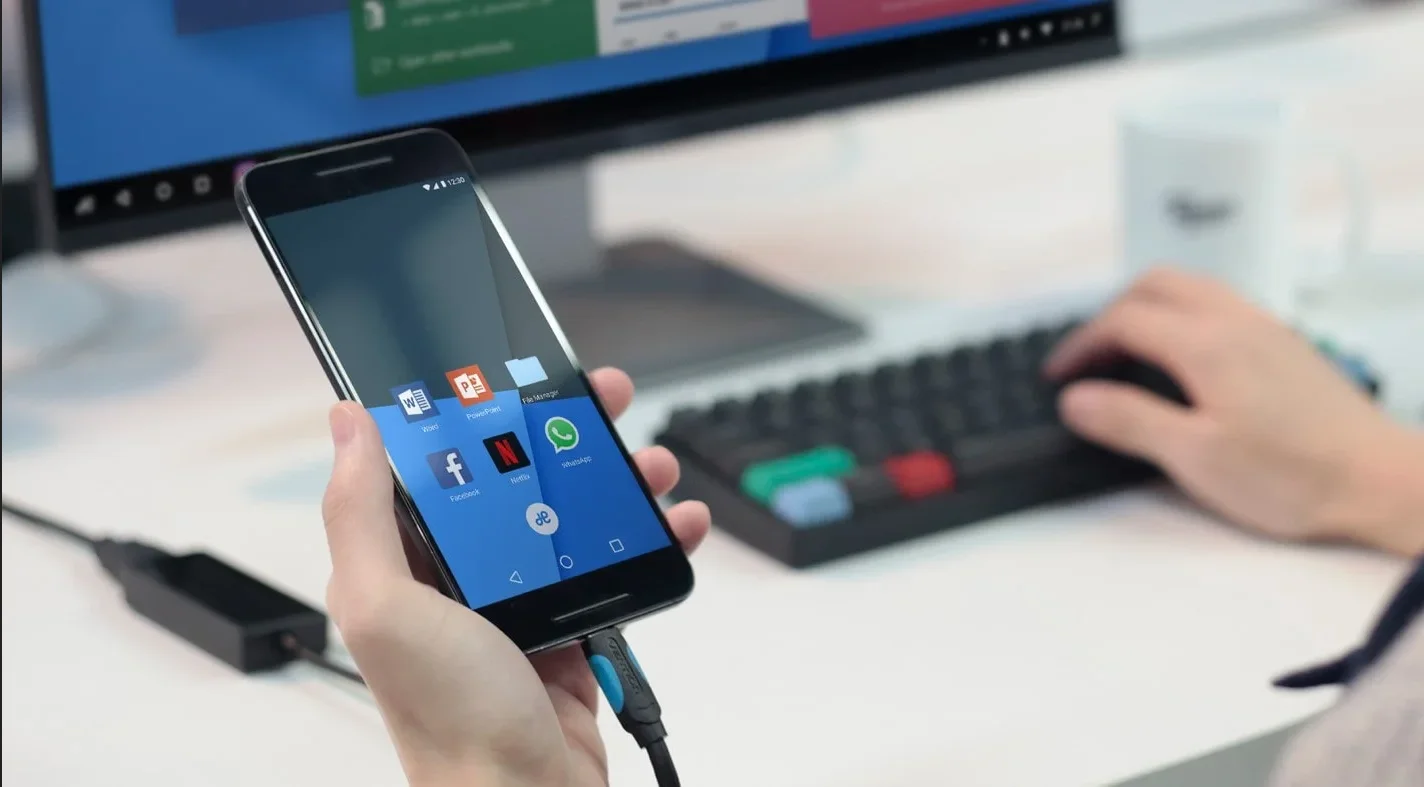
Smartphone users often connect their mobile device to their PC. This can be done in order to transfer files from one device to another for further use. However, sometimes users encounter certain problems, which cause Blackview A200 Pro to ignore its connection to PC via USB. Why does this happen and can be done in this case?
Why Doesn’t Blackview A200 Pro Connect to PC
If the user connects the smartphone to PC via a USB cable but the computer does not respond to the connection in any way, this means that the user has encountered one of the following problems:
- a faulty cable;
- damage to the USB socket on one of the devices;
- incorrect drivers corresponding to the smartphone are installed on the PC, or they are not present at all;
- when connecting the smartphone, the “Power only" option was selected;
- failure of the operating system functioning on one of the devices.

Thus, all the identified problems can be divided into physical and software ones. To determine the exact reason that causes the Blackview A200 Pro to fail to connect to the PC, you need to check the hardware and settings of both devices.
How to solve the issue
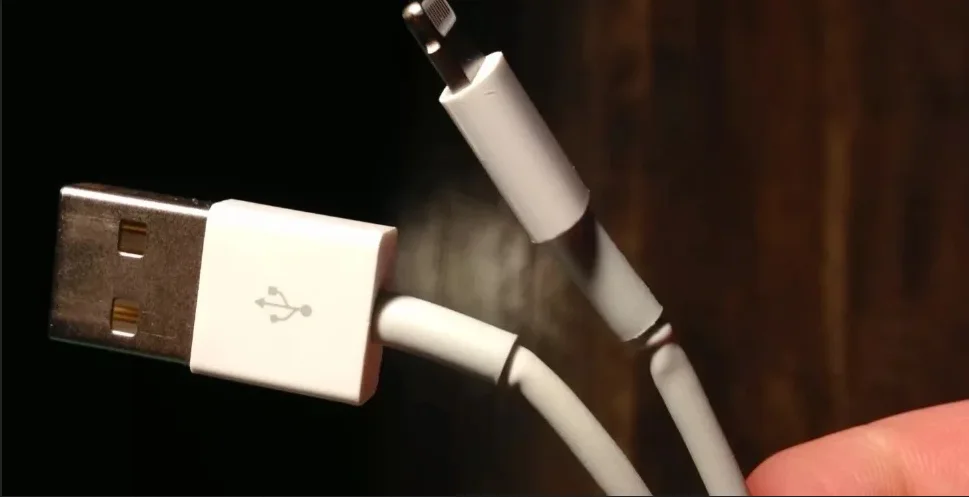
First you need to make sure that you are using a properly working USB cable for the connection. The easiest way is to charge your phone with the same cord. If the device is charging, then the cable is not the problem.

The second point that users often overlook is the wrong connection type. When a user connects a smartphone to a PC, a notification appears on the screen of the mobile device, offering to choose one of several pairing types:
- power only;
- camera;
- media and so on.
The default option is “Power only”. In this case, the Android smartphone simply receives its charge from the computer. Check your pairing settings and select "Connect as media" or "USB storage." Only in this case will the PC determine the Blackview A200 Pro phone as a full-fledged storage medium.
If nothing happens when you connect a mobile device to a PC (the device doesn’t even charge), you need to check the functionality of the USB connection on the computer. For example, you can insert a USB flash drive or connect a mouse.
Physical problems (cable or connector breakage) can only be solved by replacing the appropriate components. If you have selected the correct type of connection (media) and use properly functioning accessories, faulty drivers become the primary cause of the error.
Typically, they are installed automatically the first time you pair your smartphone and PC. The software is loaded in only if there is an Internet connection. If you don’t connect to a network, the drivers will not be downloaded. Therefore, it is recommended to check your internet connection.
You can check the functioning of the drivers as follows:
- Open Device Manager (press Win+R and enter devmgmt.msc).
- Find MTP device or phone name in the list.
- Double click with the left mouse button.
- Click “Refresh Driver”.
- Select “MTP USB device”.
- Click "Next".
- Wait until the drivers are reinstalled.
If the smartphone is not displayed in the device manager, you can enable developer mode on the Android device:
- Open the phone settings.
- Go to “Developer options".
- Enable the mode.
- Click on "Default USB Configuration".
- Select “File Transfer”.
If none of the suggested tips help, the only way to resolve the issue is to reset your smartphone. This is performed in cases when the user suspects that the pairing is faulty due to viruses.
To reset the settings, you need to:
- Open the settings.
- Go to “Recovery and reset".
- Click "Reset settings".
After the operation is completed, all files will be deleted from the device. To avoid losing any important information, it is recommended to create a backup copy first.
Alternative connection methods
If the Blackview A200 Pro phone failed to connect to a computer via USB, you can try alternative methods of transferring information from one device to another:
- using a microSD card;
- via Wi-Fi.
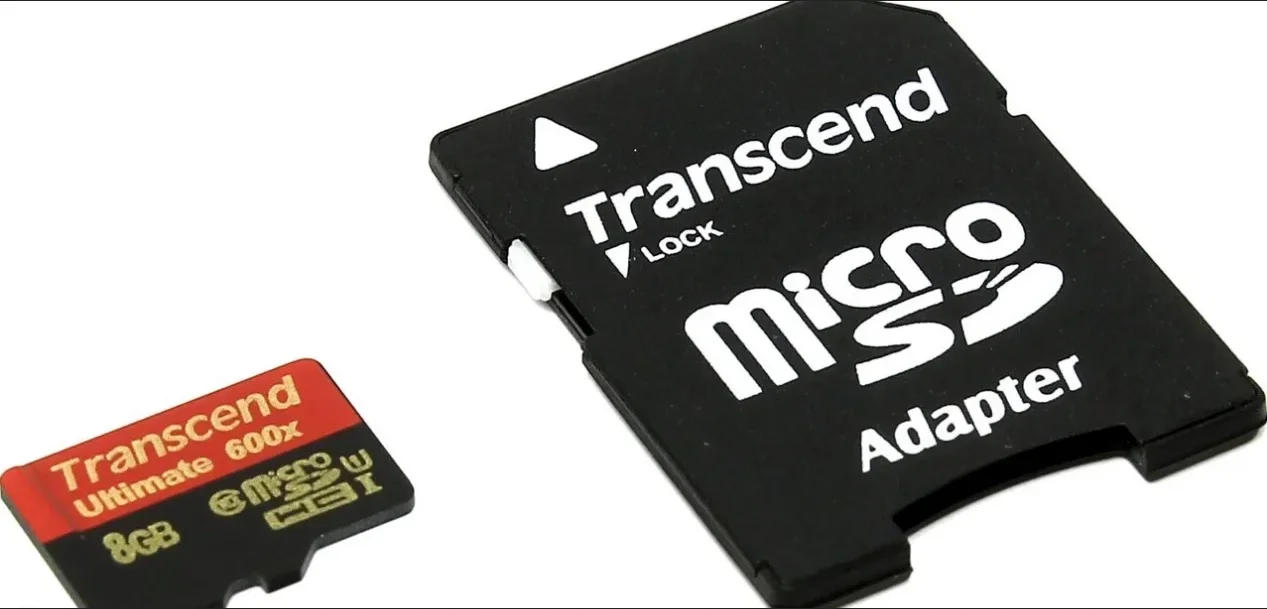
The first option warrant no need for a detailed description, as you just need to insert the memory card into the adapter and connect it to the PC through the appropriate connector. However, this kind of pairing will only allow you to transfer files to or from a flash drive.

To access your smartphone's memory, you need to use a Wi-Fi connection. You’ll need additional software for this. For example, MyPhoneExplorer. You need to download the app both on your PC (from the official website) and on your phone (via Google Play).
Further connection is performed as follows:
- Connect both devices to the same Wi-Fi network.
- Open the MyPhoneExplorer application on your phone.
- Enter a password that will be used to establish the connection.
- Open the app on the PC.
- Press the "File" button and select the "Connect" option.
- Confirm pairing by entering the previously selected password.
This will allow the smartphone to connect to the PC without using a USB cable. MyPhoneExplorer on your computer will display a list of all available files. You can transfer information both from the phone and to its storage.
How avoid this problem in the future
So that the situation does not repeat in the future, follow a few simple steps:
- Use only prepacked accessories for connection. Don't buy cheap cables.
- Set the option "Media device" or "USB storage” on your phone.
- When pairing for the first time, be sure to install the drivers and update them if necessary.
Compliance with these three rules will once and for all save you from problems when connecting your phone to a computer.
Share this page with your friends:See also:
How to flash Blackview A200 Pro
How to root Blackview A200 Pro
Hard reset for Blackview A200 Pro
How to reboot Blackview A200 Pro
How to unlock Blackview A200 Pro
What to do if Blackview A200 Pro won't turn on
What to do if Blackview A200 Pro doesn't charge
How to take a screenshot on Blackview A200 Pro
How to reset FRP on Blackview A200 Pro
How to update Blackview A200 Pro
How to call recording on Blackview A200 Pro
How to connect Blackview A200 Pro to TV
How to clear the cache on Blackview A200 Pro
How to backup Blackview A200 Pro
How to disable ads on Blackview A200 Pro
How to clear storage on Blackview A200 Pro
How to increase font on Blackview A200 Pro
How to share internet on Blackview A200 Pro
How to transfer data to Blackview A200 Pro
How to unlock bootloader on Blackview A200 Pro
How to recover photos on Blackview A200 Pro
How to record the screen on Blackview A200 Pro
How to find blacklist in Blackview A200 Pro
How to set up fingerprint on Blackview A200 Pro
How to block number on Blackview A200 Pro
How to enable auto-rotate on Blackview A200 Pro
How to set up or turn off an alarm on Blackview A200 Pro
How to change ringtone on Blackview A200 Pro
How to enable battery percentage on Blackview A200 Pro
How to turn off notifications on Blackview A200 Pro
How to turn off Google assistant on Blackview A200 Pro
How to turn off the lock screen on Blackview A200 Pro
How to delete app on Blackview A200 Pro
How to recover contacts on Blackview A200 Pro
Where is the recycle bin on Blackview A200 Pro
How to install WhatsApp on Blackview A200 Pro
How to set contact photo in Blackview A200 Pro
How to scan QR code on Blackview A200 Pro
How to connect Blackview A200 Pro to computer
How to install SD card in Blackview A200 Pro
How to update Play Store in Blackview A200 Pro
How to install Google Camera in Blackview A200 Pro
How to enable USB debugging on Blackview A200 Pro
How to turn off Blackview A200 Pro
How to charge Blackview A200 Pro
How to use the camera on Blackview A200 Pro
How to find lost Blackview A200 Pro
How to set password on Blackview A200 Pro
How to turn on 5g on Blackview A200 Pro
How to turn on VPN on Blackview A200 Pro
How to install apps on Blackview A200 Pro
How to insert a SIM card in Blackview A200 Pro
How to enable and configure NFC on Blackview A200 Pro
How to set time on Blackview A200 Pro
How to connect headphones to Blackview A200 Pro
How to clear browser history on Blackview A200 Pro
How to disassemble Blackview A200 Pro
How to hide an app on Blackview A200 Pro
How to download YouTube videos on Blackview A200 Pro
How to unblock a contact on Blackview A200 Pro
How to turn on the flashlight on Blackview A200 Pro
How to split the screen on Blackview A200 Pro
How to turn off the camera sound on Blackview A200 Pro
How to trim video on Blackview A200 Pro
How to check RAM in Blackview A200 Pro
How to bypass the Google account on Blackview A200 Pro
How to fix black screen on Blackview A200 Pro
How to change the language on Blackview A200 Pro
How to open engineering mode in Blackview A200 Pro
How to open recovery mode in Blackview A200 Pro
How to find and turn on a voice recorder on Blackview A200 Pro
How to make video calls on Blackview A200 Pro
Blackview A200 Pro sim card not detected
How to transfer contacts to Blackview A200 Pro
How to enable/disable «Do not disturb» mode on Blackview A200 Pro
How to enable/disable answerphone on Blackview A200 Pro
How to set up face recognition on Blackview A200 Pro
How to set up voicemail on Blackview A200 Pro
How to listen to voicemail on Blackview A200 Pro
How to check the IMEI number in Blackview A200 Pro
How to turn on fast charging on Blackview A200 Pro
How to replace the battery on Blackview A200 Pro
How to update the application on Blackview A200 Pro
Why the Blackview A200 Pro discharges quickly
How to set a password for apps in the Blackview A200 Pro
How to format Blackview A200 Pro
How to install TWRP on Blackview A200 Pro
How to set up call forwarding on Blackview A200 Pro
How to empty the recycle bin on Blackview A200 Pro
Where to find the clipboard on Blackview A200 Pro
Why Doesn’t Connect to PC Via USB Another Phones
