How to Recover Photos on DNS S5005
Like any other smartphone, DNS S5005 has a camera. It allows you to take photos and record videos, but sometimes users do not have enough space to store such files. Because of this, users have to delete the pictures beyond the possibility of their recovery, or so it would seem. But fortunately, there are several ways to recover photos on DNS S5005.
Via Recycle Bin
When deleting photos from a smartphone running on the Android operating system, files do not disappear without a trace. First, they end up in the so-called "Recycle Bin", where they continue to be stored until the moment when the user decides to completely get rid of them. Therefore, users of DNS S5005 can try to recover the photos from the Recycle Bin:
- Open the standard Gallery or Google Photos (these are the two main applications for viewing pictures).
- Launch the dialog and go to the Recycle Bin section.
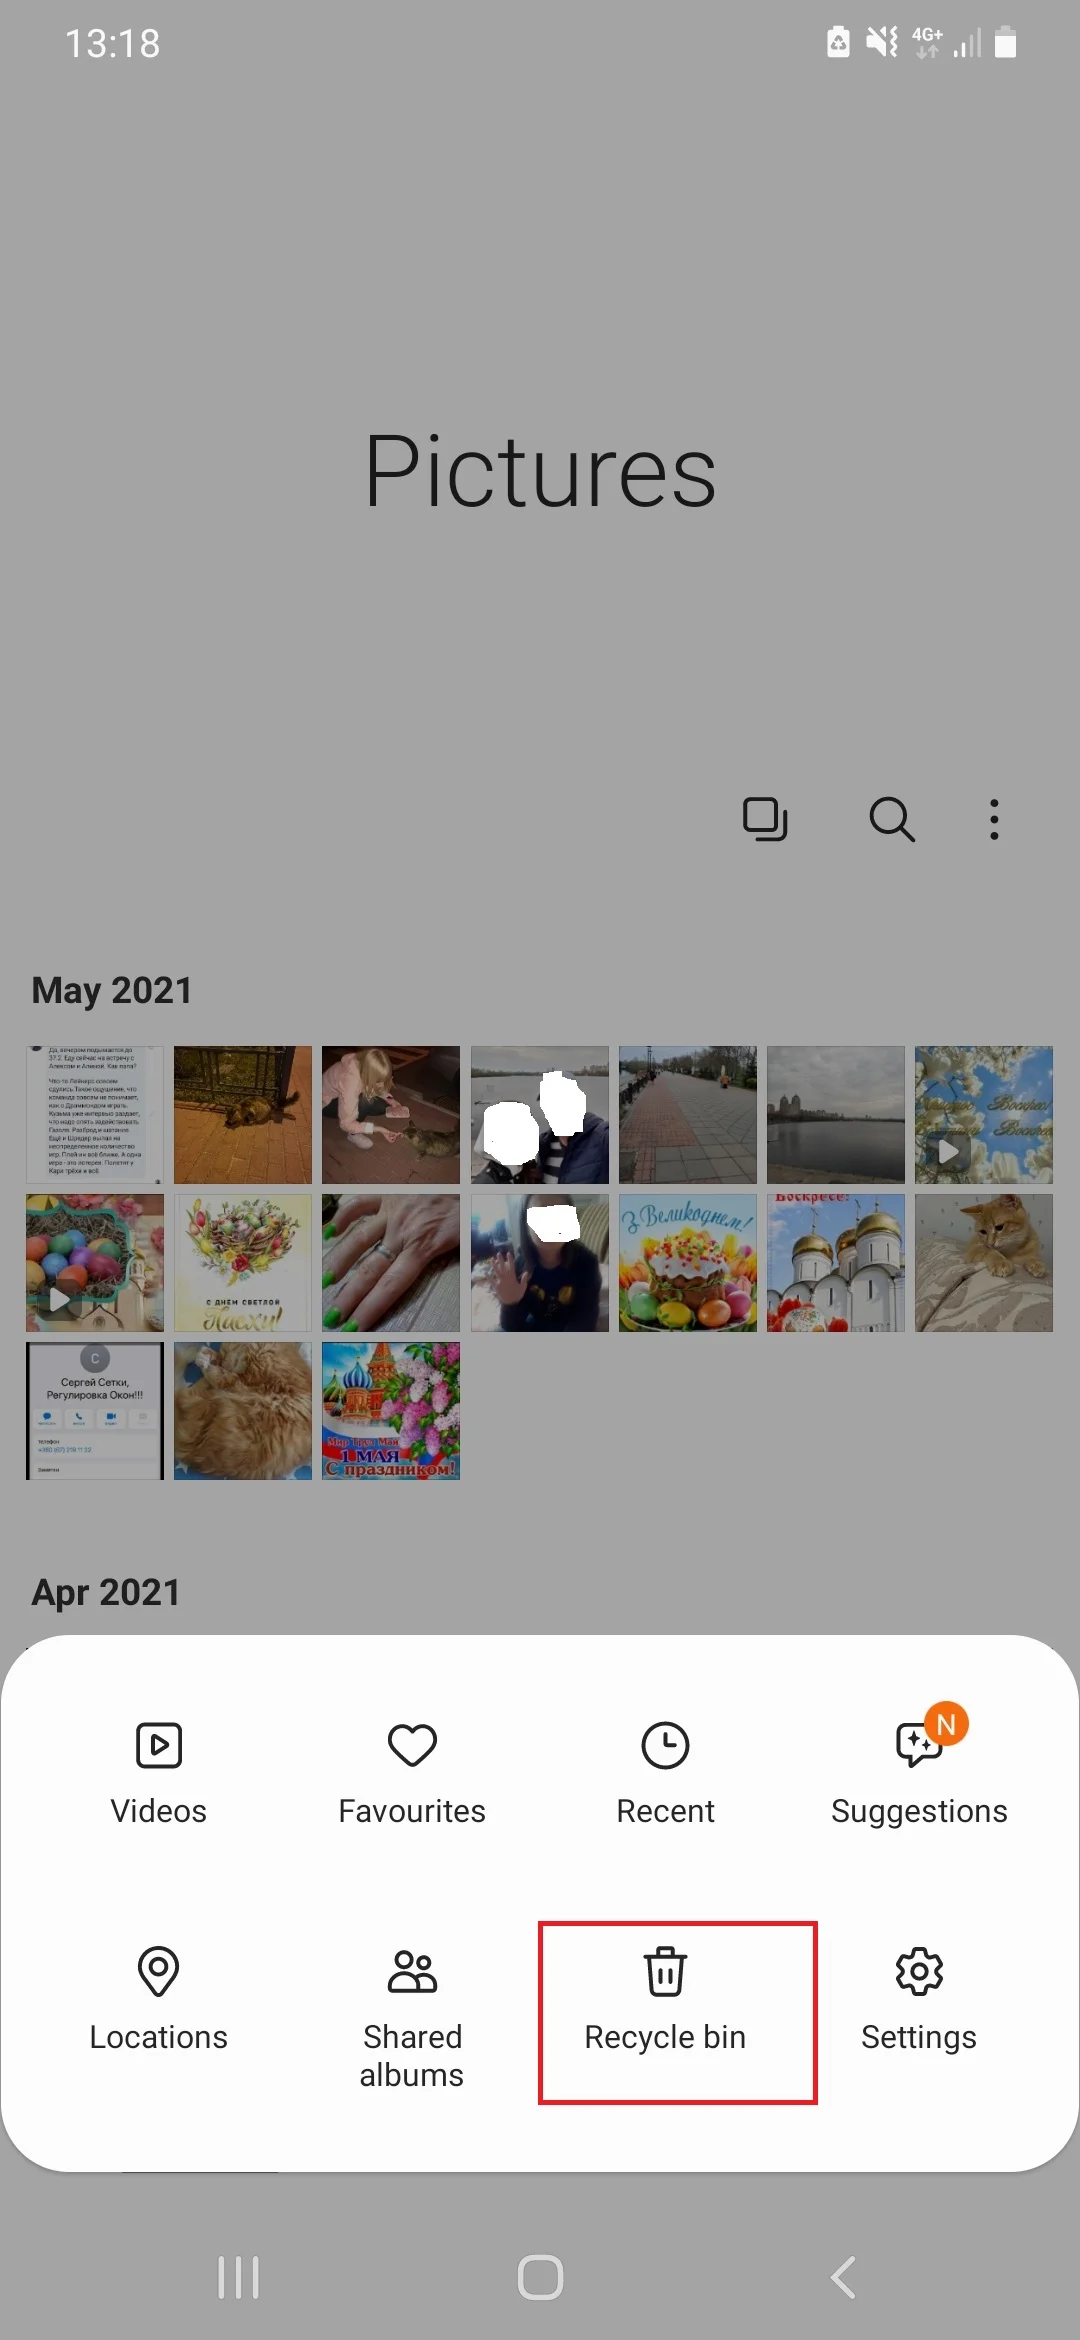
- Select the photos of interest and press the restore button.
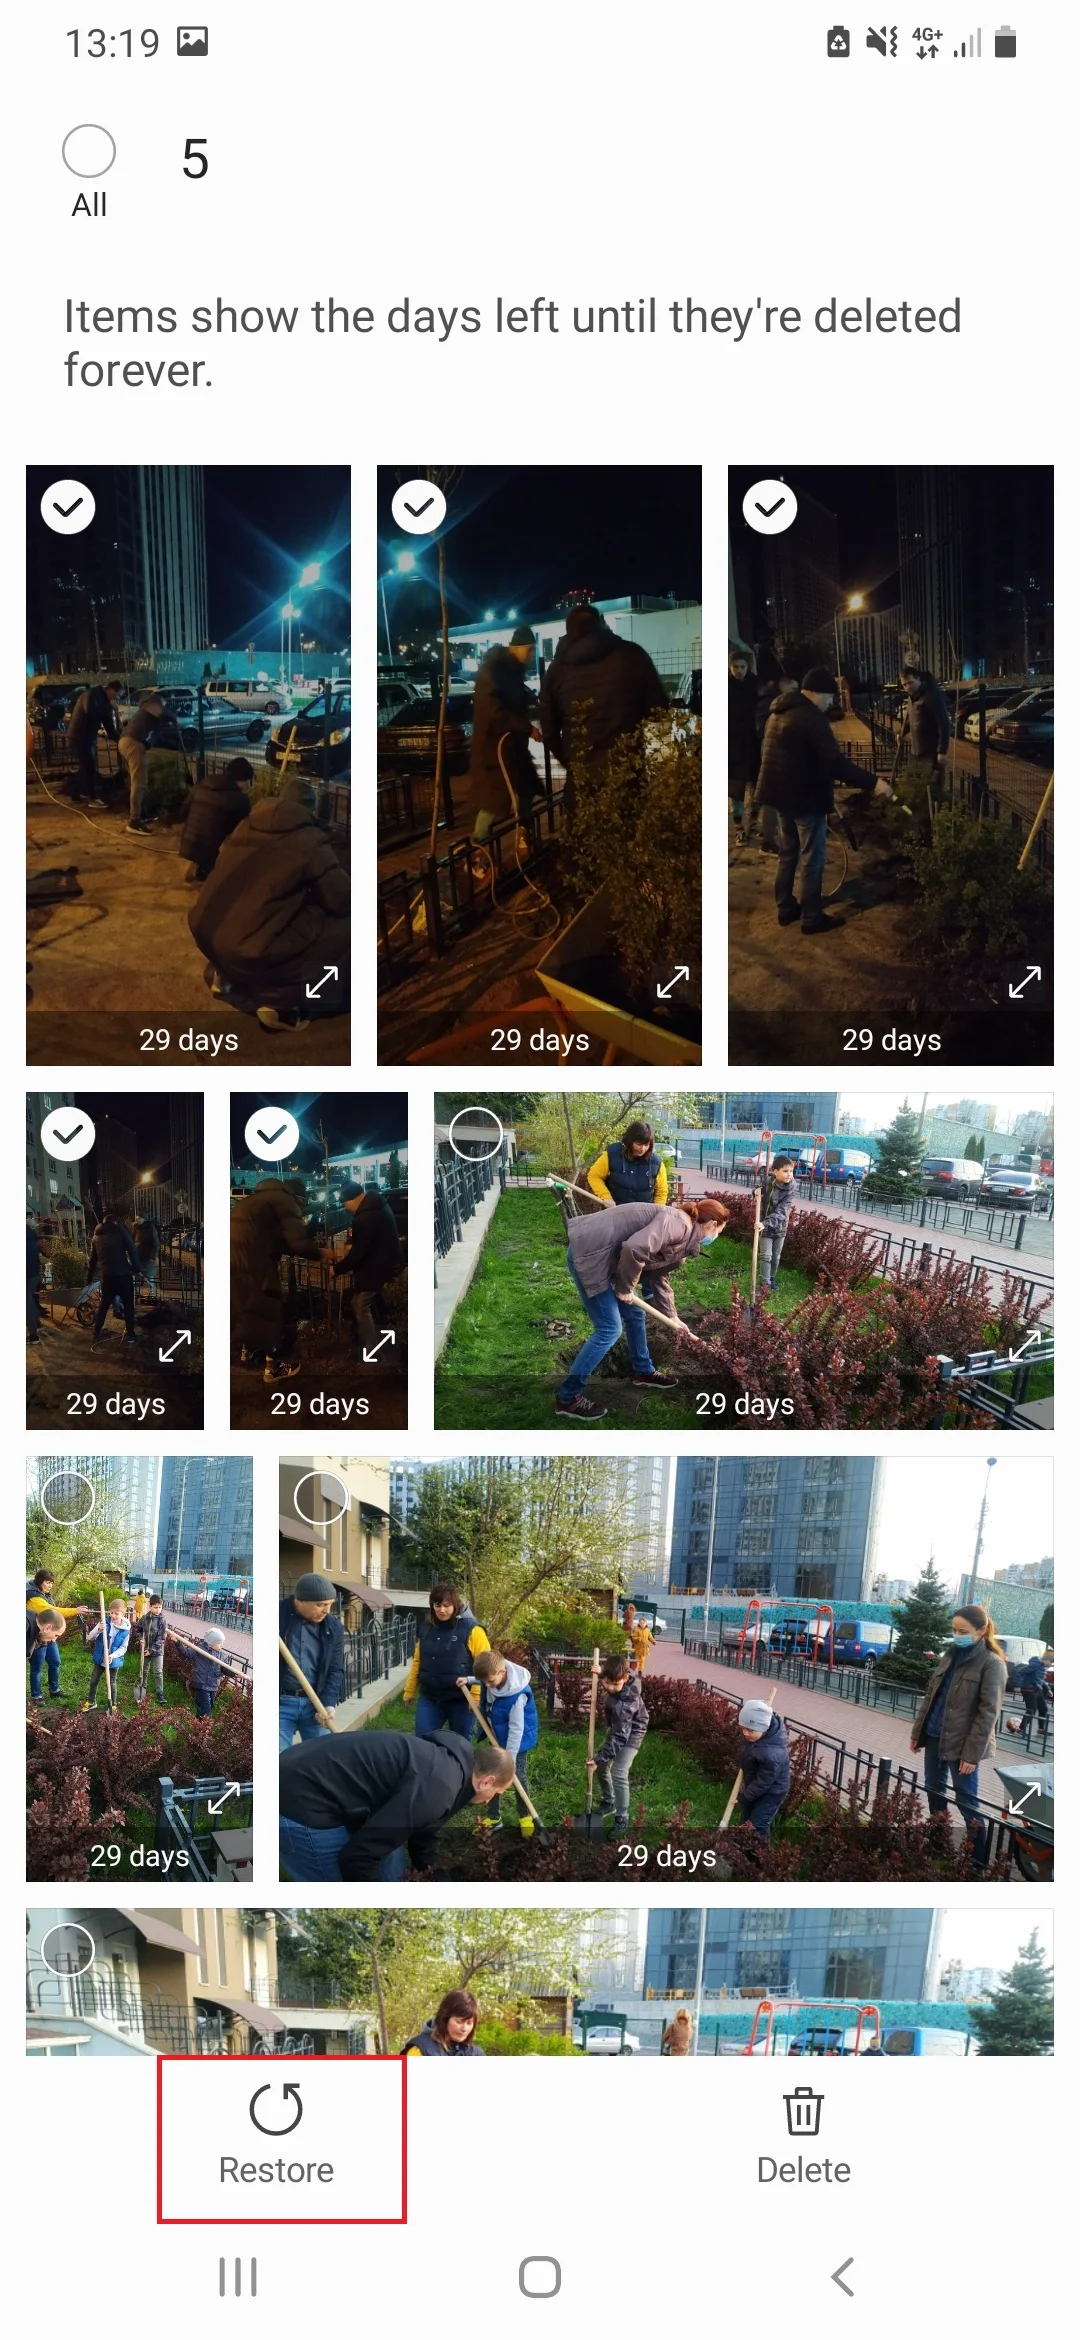
Please note that depending on the application and firmware version you are using, the storing period for files may vary. As such, the successful completion of the operation cannot be 100% guaranteed.
Using a Dedicated Application
If the pictures were deleted from the Recycle Bin by the user or after the passing of the time period set by the developers, DNS S5005 still provides a chance to recover the files. To do this, users will have to use special apps. For example, DiskDigger:
- Download and install the application using the Play Market.
- Launch DiskDigger.
- Start the image search.
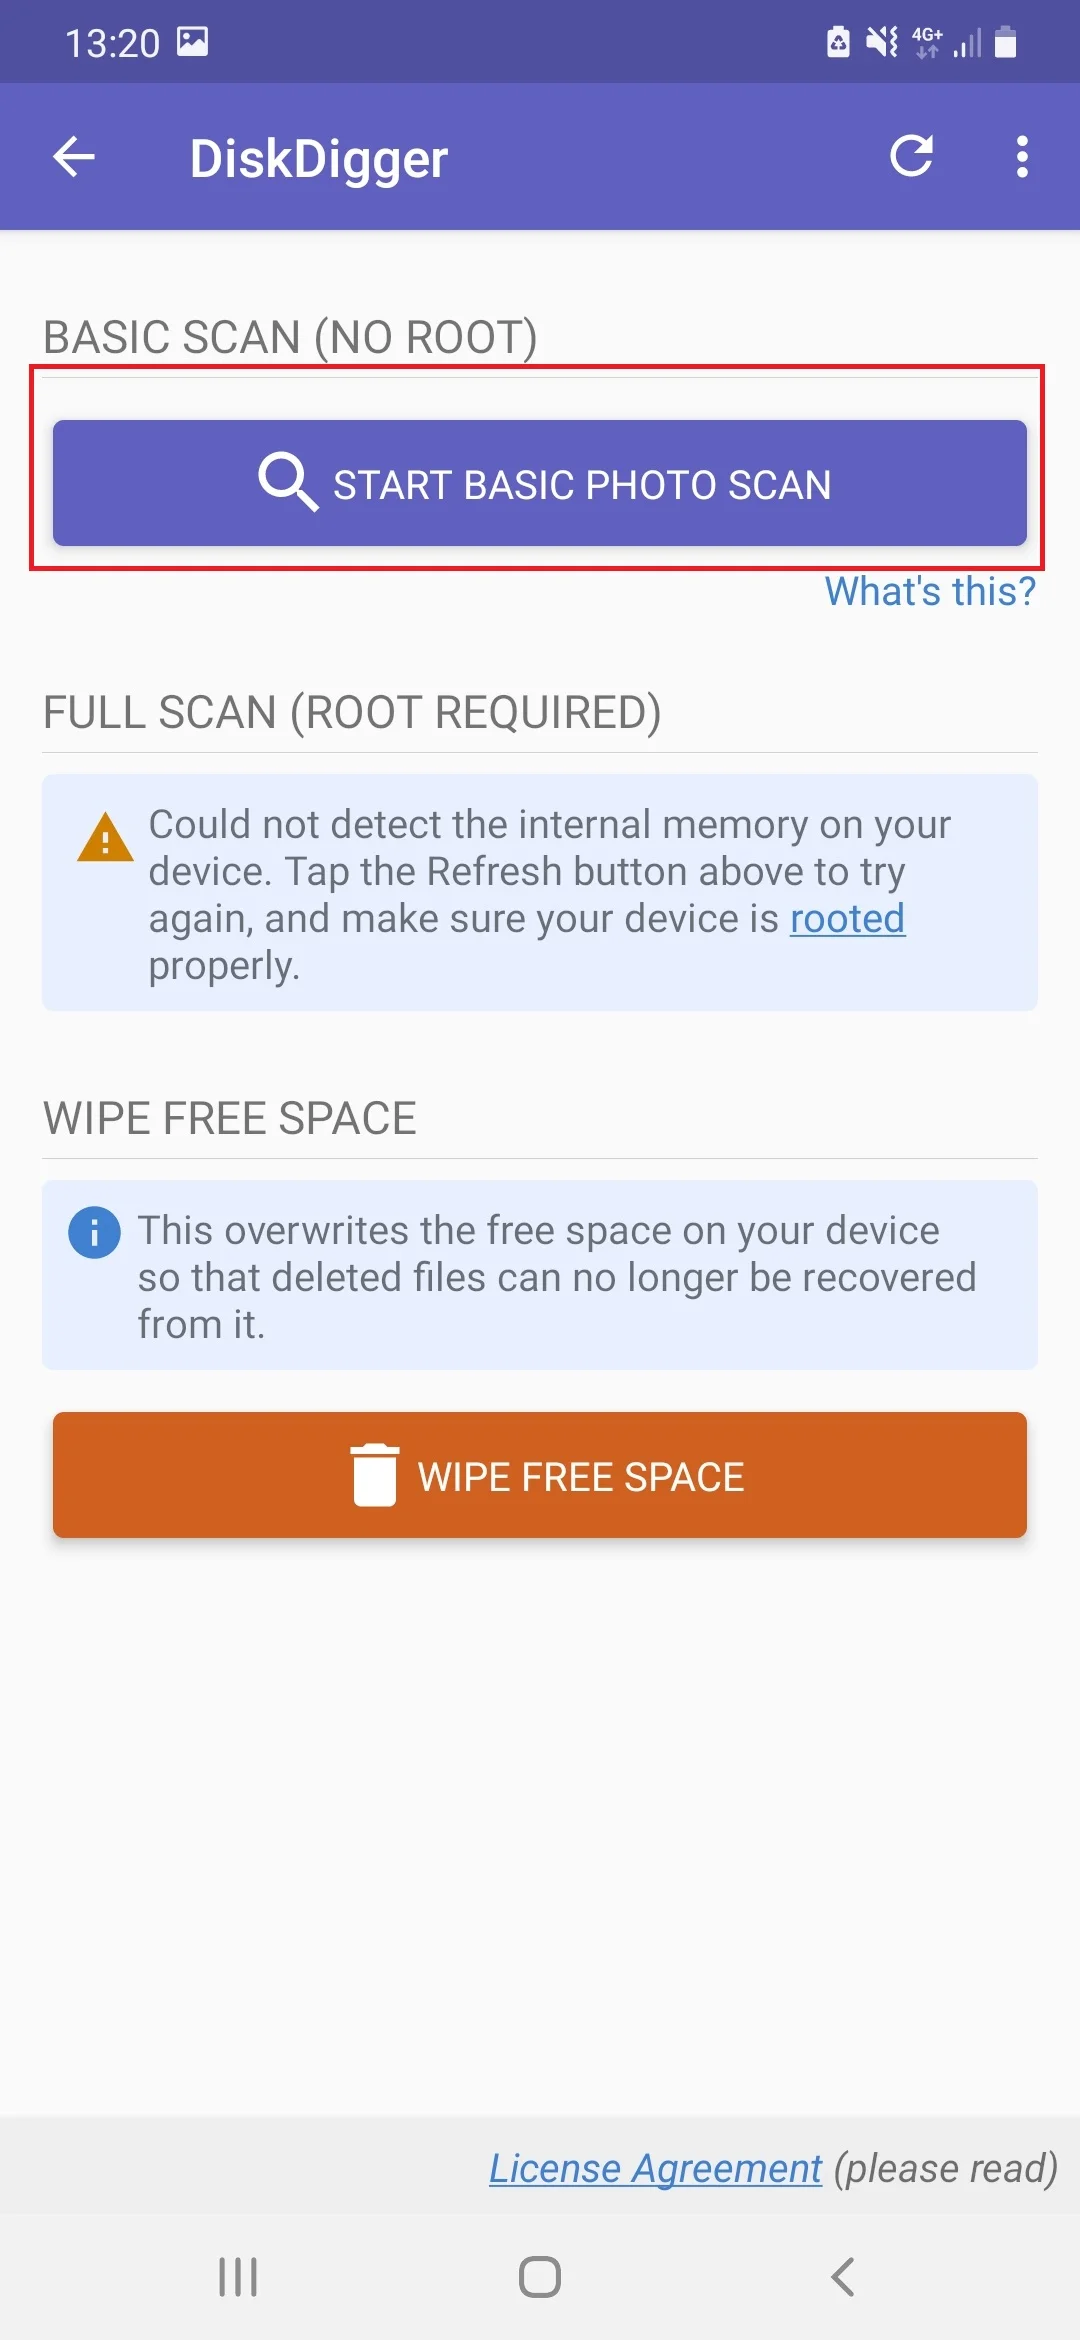
- Select the pictures of interest and press "Recover".
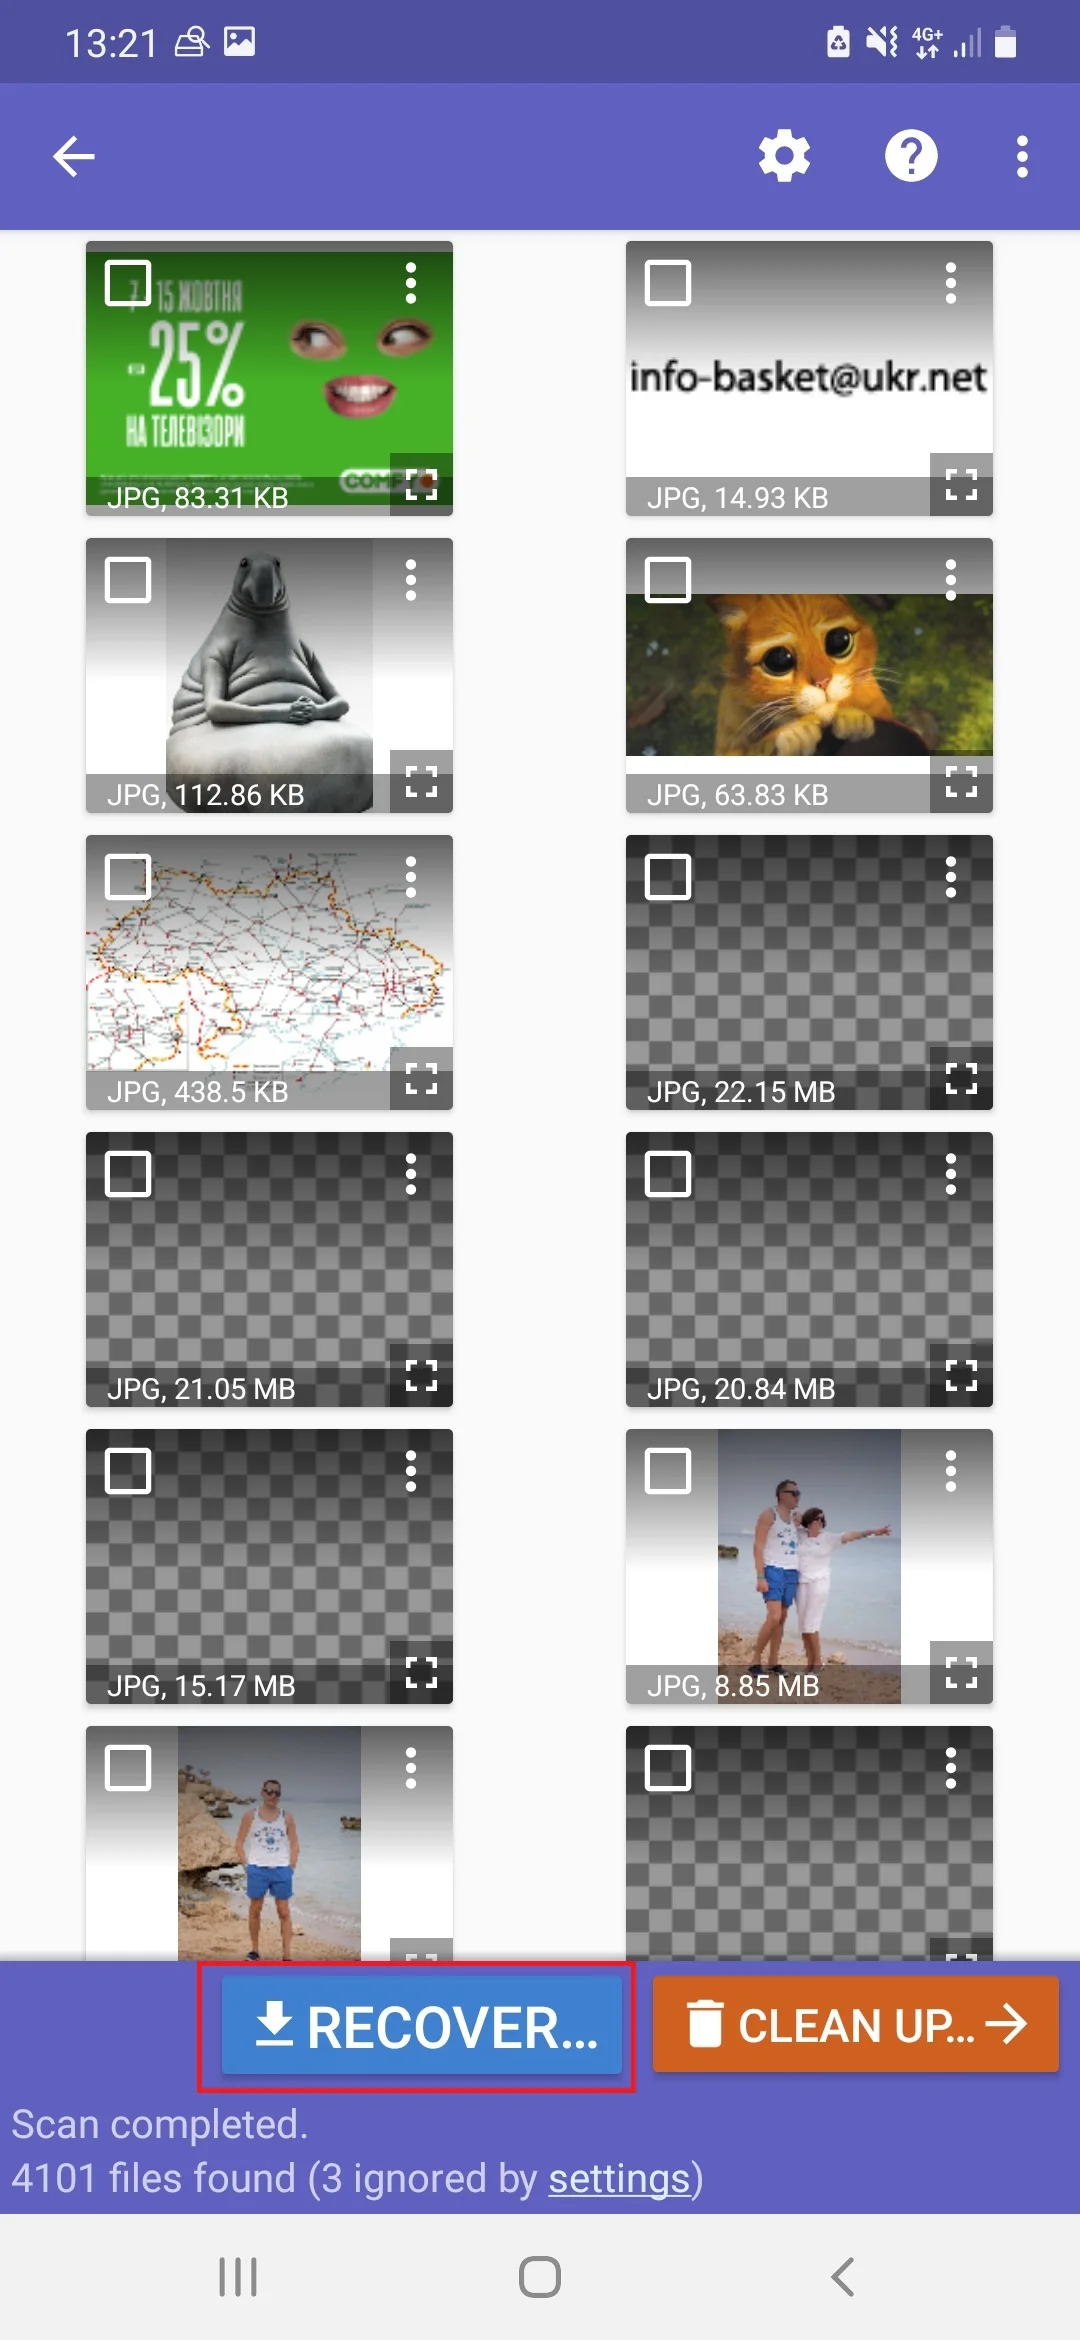
When recovering photos via third-party applications, you need to take several things into account. E.g., you will probably not be able to get the full image back. Most likely, its resolution will be comparable not with the actual size of the picture, but with the screen resolution. A more thorough search requires obtaining root rights, but this entails a number of outcomes, so this method is not recommended for use.
Via PC
PC alone will not help you recover deleted photos on DNS S5005. However, the problem can be easily solved with the help of special software:
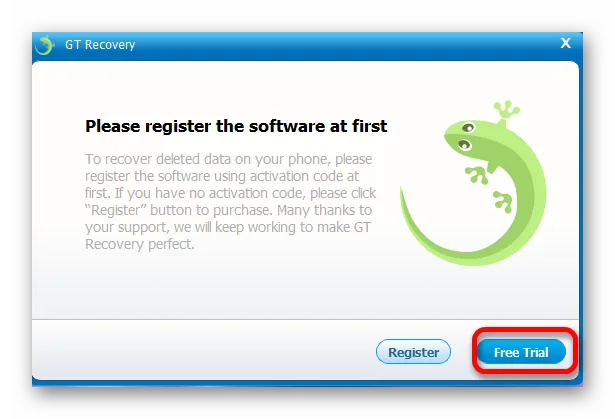
- Download and install GT Recovery.
- Confirm the activation of the trial period.
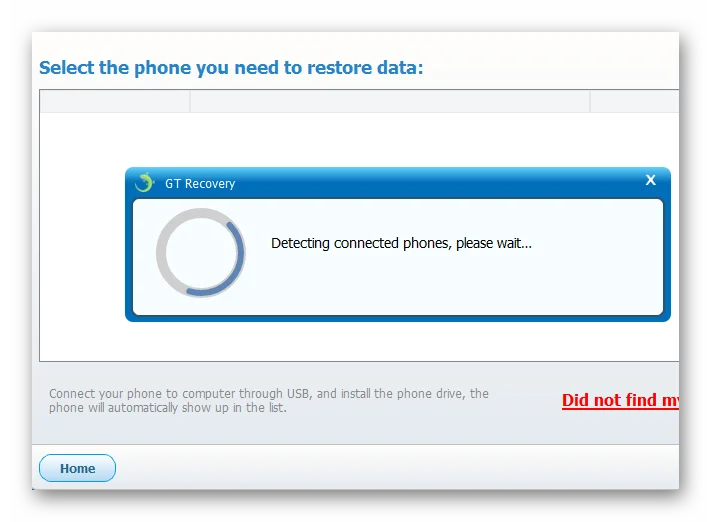
- Connect your phone to your computer.
- Select "Mobile Data Recovery" in the app.
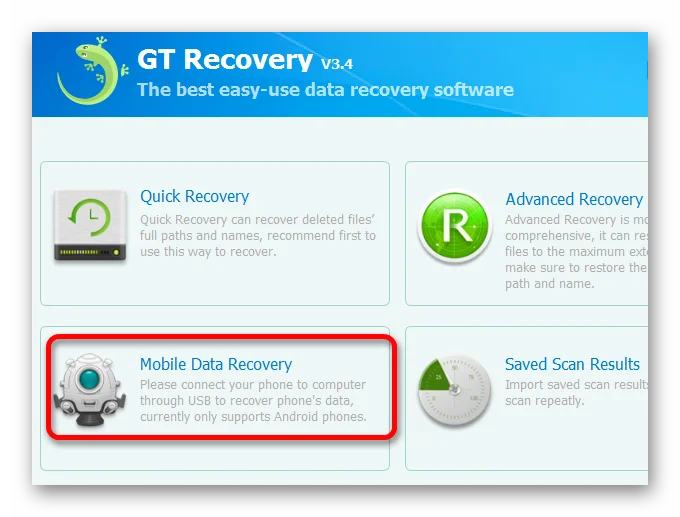
- Wait for the end of the scan and restore the found photos.
Unlike applications for Android, a PC has more advanced recovery options. Therefore, the user has much more chances of restoring lost pictures.
Share this page with your friends:See also:
How to flash DNS S5005
How to root DNS S5005
Hard reset for DNS S5005
How to reboot DNS S5005
How to unlock DNS S5005
What to do if DNS S5005 won't turn on
What to do if DNS S5005 doesn't charge
What to do if DNS S5005 doesn't connect to PC via USB
How to take a screenshot on DNS S5005
How to reset FRP on DNS S5005
How to call recording on DNS S5005
How to update DNS S5005
How to connect DNS S5005 to TV
How to clear the cache on DNS S5005
How to backup DNS S5005
How to disable ads on DNS S5005
How to clear storage on DNS S5005
How to increase font on DNS S5005
How to share internet on DNS S5005
How to transfer data to DNS S5005
How to unlock bootloader on DNS S5005
How to record the screen on DNS S5005
How to find blacklist in DNS S5005
How to set up fingerprint on DNS S5005
How to block number on DNS S5005
How to enable auto-rotate on DNS S5005
How to set up or turn off an alarm on DNS S5005
How to change ringtone on DNS S5005
How to enable battery percentage on DNS S5005
How to turn off notifications on DNS S5005
How to turn off Google assistant on DNS S5005
How to turn off the lock screen on DNS S5005
How to delete app on DNS S5005
How to recover contacts on DNS S5005
Where is the recycle bin on DNS S5005
How to install WhatsApp on DNS S5005
How to set contact photo in DNS S5005
How to scan QR code on DNS S5005
How to connect DNS S5005 to computer
How to install SD card in DNS S5005
How to update Play Store in DNS S5005
How to install Google Camera in DNS S5005
How to enable USB debugging on DNS S5005
How to turn off DNS S5005
How to charge DNS S5005
How to use the camera on DNS S5005
How to find lost DNS S5005
How to set password on DNS S5005
How to turn on 5g on DNS S5005
How to turn on VPN on DNS S5005
How to install apps on DNS S5005
How to insert a SIM card in DNS S5005
How to enable and configure NFC on DNS S5005
How to set time on DNS S5005
How to connect headphones to DNS S5005
How to clear browser history on DNS S5005
How to disassemble DNS S5005
How to hide an app on DNS S5005
How to download YouTube videos on DNS S5005
How to unblock a contact on DNS S5005
How to turn on the flashlight on DNS S5005
How to split the screen on DNS S5005
How to turn off the camera sound on DNS S5005
How to trim video on DNS S5005
How to check RAM in DNS S5005
How to bypass the Google account on DNS S5005
How to fix black screen on DNS S5005
How to change the language on DNS S5005
How to open engineering mode in DNS S5005
How to open recovery mode in DNS S5005
How to find and turn on a voice recorder on DNS S5005
How to make video calls on DNS S5005
DNS S5005 sim card not detected
How to transfer contacts to DNS S5005
How to enable/disable «Do not disturb» mode on DNS S5005
How to enable/disable answerphone on DNS S5005
How to set up face recognition on DNS S5005
How to set up voicemail on DNS S5005
How to listen to voicemail on DNS S5005
How to check the IMEI number in DNS S5005
How to turn on fast charging on DNS S5005
How to replace the battery on DNS S5005
How to update the application on DNS S5005
Why the DNS S5005 discharges quickly
How to set a password for apps in the DNS S5005
How to format DNS S5005
How to install TWRP on DNS S5005
How to set up call forwarding on DNS S5005
How to empty the recycle bin on DNS S5005
Where to find the clipboard on DNS S5005
How to Recover Photos on Another Phones
