How to Replace the Battery on LG Q Stylus

Manufacturers of modern smartphones use seamless body technology, that is, the display and the back cover are tightly fastened together. This solution made the devices more resistant to moisture, made their design more interesting, and reduced the size of the stripes next to the screen. But at the same time, it has created several problems, one of which — is the difficulty of replacing the battery. If previously it was enough to remove the back cover and take out the broken battery, then now replace it on LG Q Stylus can be replaced only by possessing special skills.
Precautions
If you decide to change the battery yourself at home, you will immediately lose the warranty on the phone, as well as possibly:
- damage the fasteners, and duct tape;
- will not be able to properly clean the cover and the «insides» of the glue;
- will not be able to reassemble the phone;
- you will damage the internal elements, especially if they are not protected;
- you can break the cameras.
In short, replacing the battery yourself — is a complicated and dangerous business. We are not responsible for what you plan to do to your phone. You do everything at your own risk.
What will be needed
At home, you will need the following:
- any thin but sturdy object — plastic card, plectrum, etc.;
- blade for a razor (which used to have their finger pierced to take blood);

- cross-head screwdriver;
- syringe;
- alcohol or any other cleaner capable of removing glue;
- the glue you will use to attach the cover after replacing the battery;
- new battery.
How to remove the cover on LG Q Stylus
A guaranteed way to remove the cover on the LG Q Stylus without damage (if everything is done carefully) both on Android smartphones and on Apple technology:
- We push the blade of a razor into the clearance.
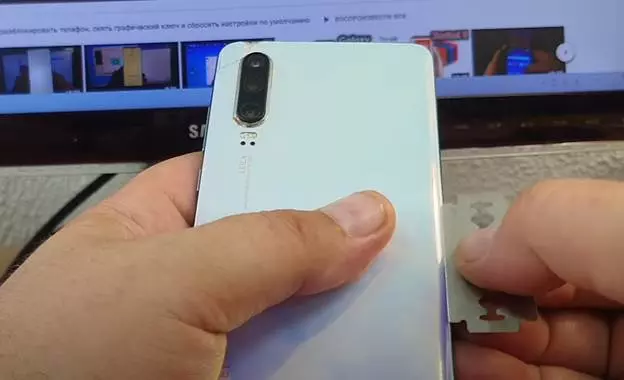
- Use a syringe to drop a little (1 drop) of cleaner into the clearance.

- Do the previous steps all around the perimeter of the device. Be extremely careful with the cameras, backlight, buttons, and ports on your smartphone. It's easy to damage them if pour too much cleaner on them.
- Insert anything, but a long enough object, into the clearance and run it all around the perimeter. The lid should come off, and if it doesn't, you've done something wrong.
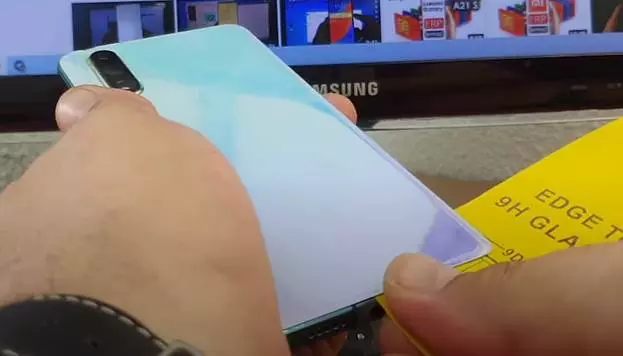
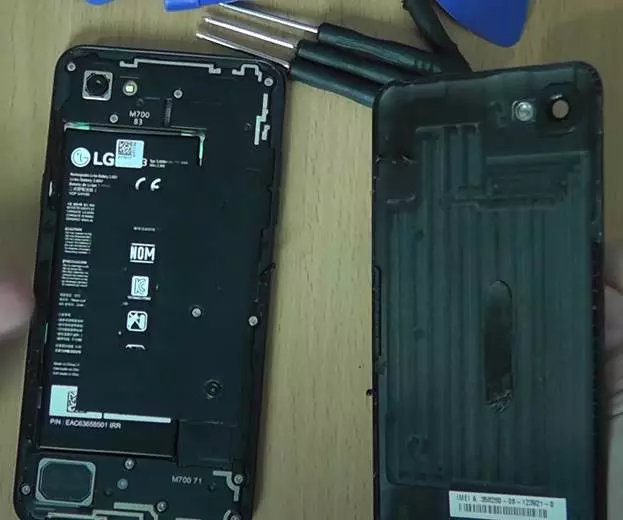
- Congratulations, the cover is off!
There is another way to remove the cover, but it is more dangerous:
- Take a vacuum suction cup.

- Attach it to the top of the cover and start pulling (it will take some effort).
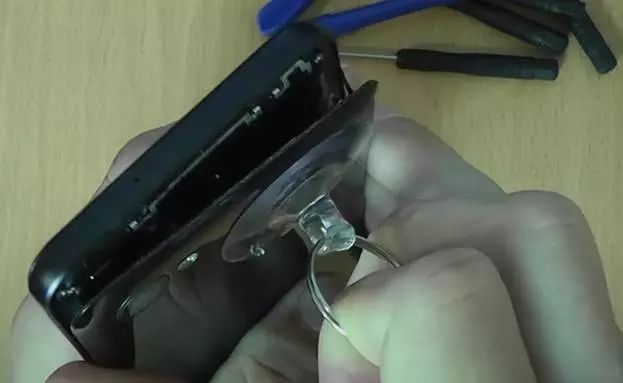
- Once the cover is slightly moved, unscrew the suction cup from the top and attach it to the middle.
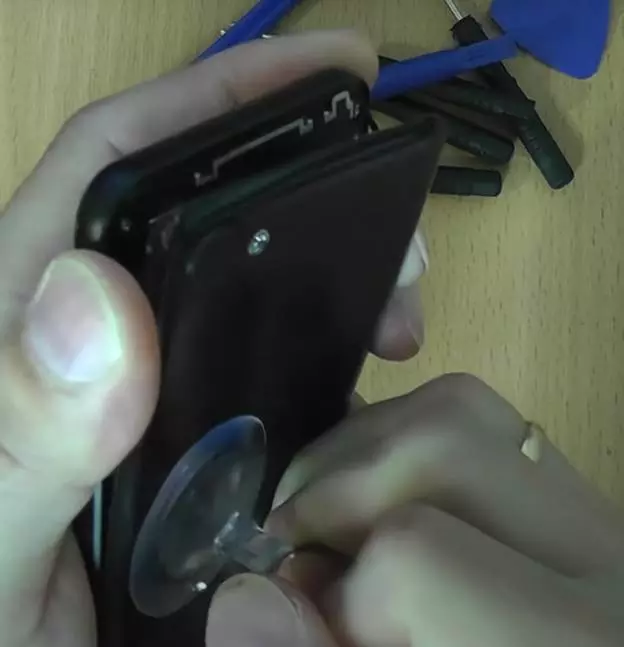
- A little more effort and the cover is off!
Changing the battery
After removing the cover, it's just a matter of a few things:
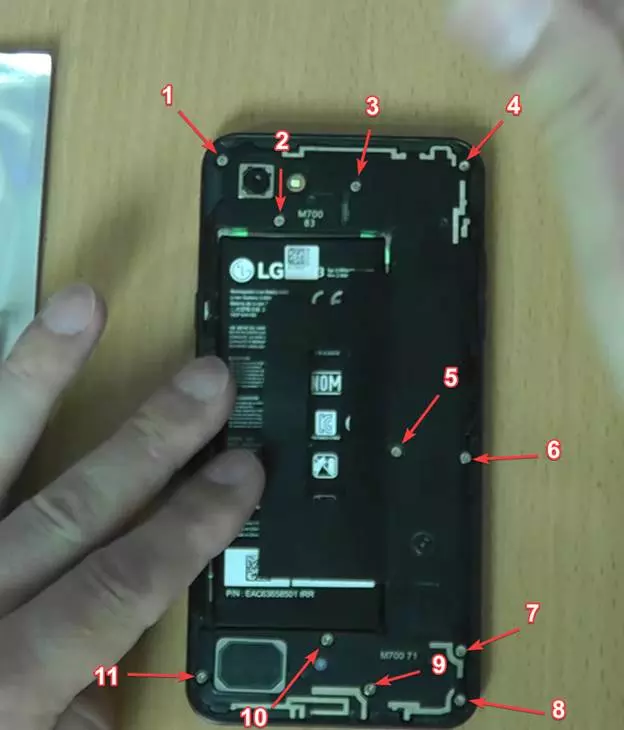
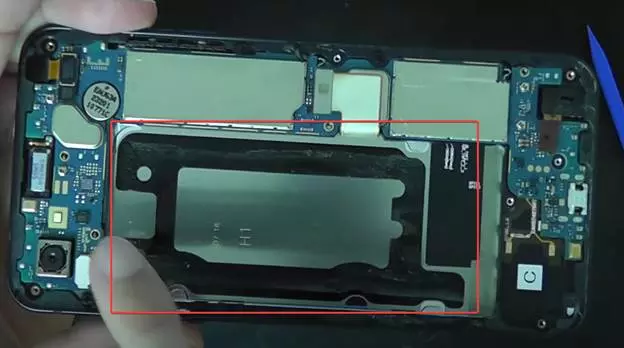
- Unscrew all the screws of the protective casing.
- We remove all the panels of the protective casing using any thin object (card, plectrum, etc.). This should be done carefully since all the boards and small elements are hidden right under the panels.
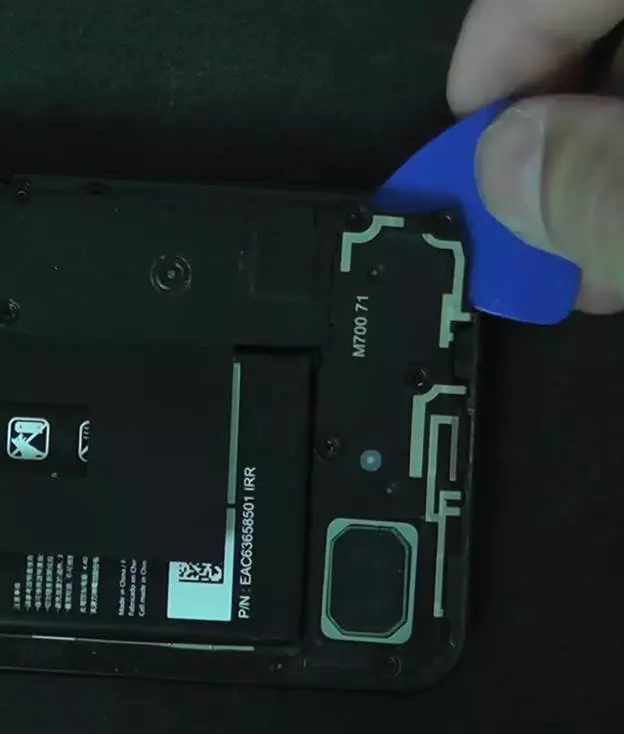
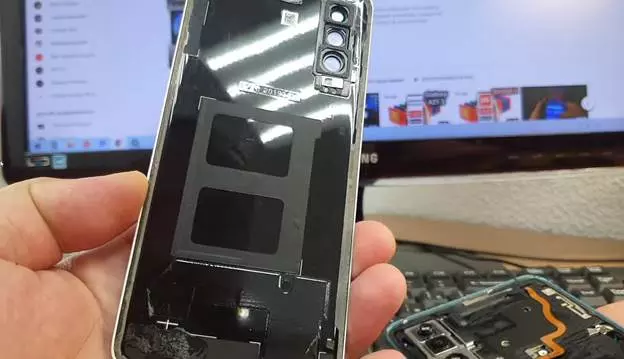
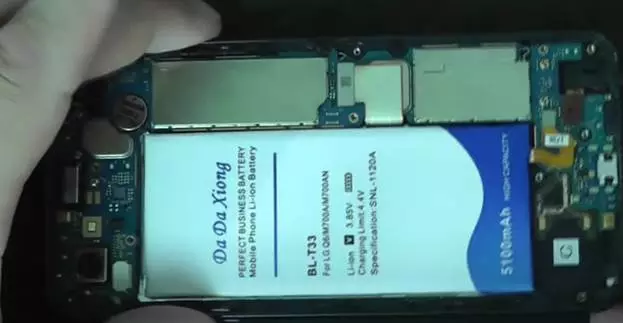
- After removing the panels, you will have direct access to the battery and its ribbon cable.
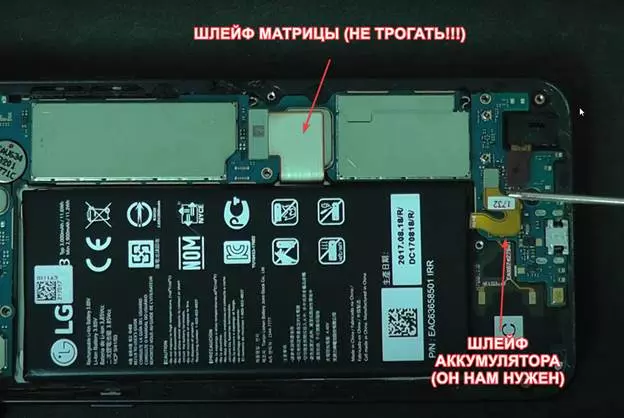
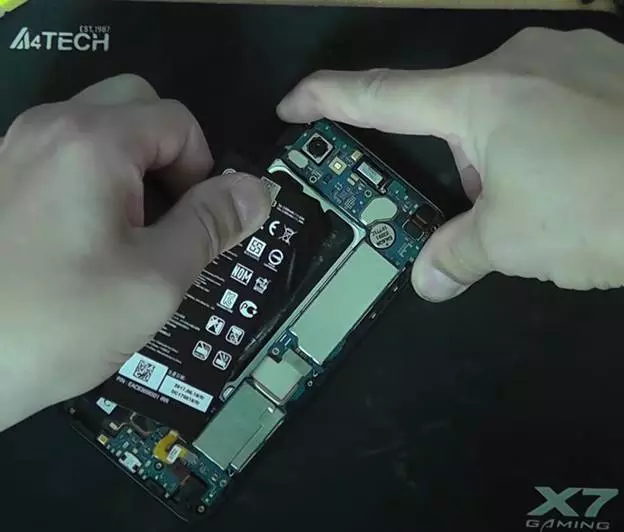
- Next, we remove the battery. The manufacturers glue it securely, so it will take enough effort. The ribbon cable will come off with the battery! If the ribbon cable is left on the board, it has to be removed.
- If possible, clean the place from the adhesive tape and use a new one. In case this is not possible, install the battery on the old duct tape.
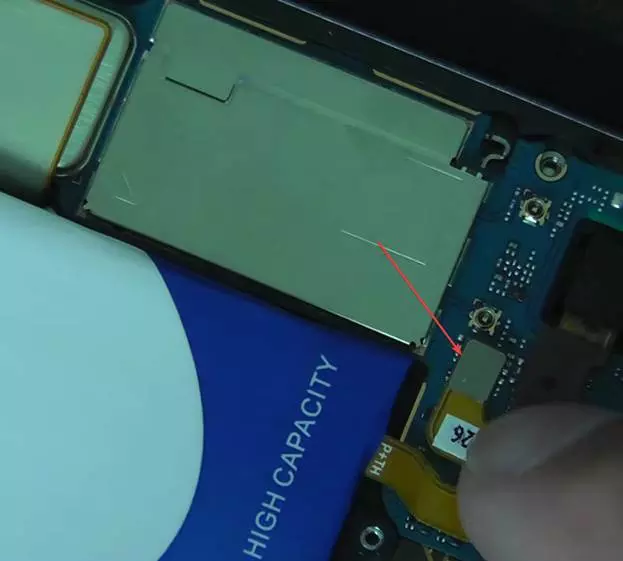
- Take a new battery and first connect its ribbon cable to the board. If you do everything right, you will hear a slight click. Be extremely careful, as any damage to both the board and the ribbon cable will lead to the complete operability of the smartphone.
- Once the ribbon cable is in place, place the battery in the cavity and press it gently to make the tape stick grappled with the surface.
- After that, return the protective casing panels to their place, tighten the screws, and place the cover on a new glue.
See also:
How to flash LG Q Stylus
How to root LG Q Stylus
Hard reset for LG Q Stylus
How to reboot LG Q Stylus
How to unlock LG Q Stylus
What to do if LG Q Stylus won't turn on
What to do if LG Q Stylus doesn't charge
What to do if LG Q Stylus doesn't connect to PC via USB
How to take a screenshot on LG Q Stylus
How to reset FRP on LG Q Stylus
How to call recording on LG Q Stylus
How to update LG Q Stylus
How to connect LG Q Stylus to TV
How to clear the cache on LG Q Stylus
How to backup LG Q Stylus
How to disable ads on LG Q Stylus
How to clear storage on LG Q Stylus
How to increase font on LG Q Stylus
How to share internet on LG Q Stylus
How to transfer data to LG Q Stylus
How to unlock bootloader on LG Q Stylus
How to recover photos on LG Q Stylus
How to record the screen on LG Q Stylus
How to find blacklist in LG Q Stylus
How to set up fingerprint on LG Q Stylus
How to block number on LG Q Stylus
How to enable auto-rotate on LG Q Stylus
How to set up or turn off an alarm on LG Q Stylus
How to change ringtone on LG Q Stylus
How to enable battery percentage on LG Q Stylus
How to turn off notifications on LG Q Stylus
How to turn off Google assistant on LG Q Stylus
How to turn off the lock screen on LG Q Stylus
How to delete app on LG Q Stylus
How to recover contacts on LG Q Stylus
Where is the recycle bin on LG Q Stylus
How to install WhatsApp on LG Q Stylus
How to set contact photo in LG Q Stylus
How to scan QR code on LG Q Stylus
How to connect LG Q Stylus to computer
How to install SD card in LG Q Stylus
How to update Play Store in LG Q Stylus
How to install Google Camera in LG Q Stylus
How to enable USB debugging on LG Q Stylus
How to turn off LG Q Stylus
How to charge LG Q Stylus
How to use the camera on LG Q Stylus
How to find lost LG Q Stylus
How to set password on LG Q Stylus
How to turn on 5g on LG Q Stylus
How to turn on VPN on LG Q Stylus
How to install apps on LG Q Stylus
How to insert a SIM card in LG Q Stylus
How to enable and configure NFC on LG Q Stylus
How to set time on LG Q Stylus
How to connect headphones to LG Q Stylus
How to clear browser history on LG Q Stylus
How to disassemble LG Q Stylus
How to hide an app on LG Q Stylus
How to download YouTube videos on LG Q Stylus
How to unblock a contact on LG Q Stylus
How to turn on the flashlight on LG Q Stylus
How to split the screen on LG Q Stylus
How to turn off the camera sound on LG Q Stylus
How to trim video on LG Q Stylus
How to bypass the Google account on LG Q Stylus
How to fix black screen on LG Q Stylus
How to change the language on LG Q Stylus
How to open engineering mode in LG Q Stylus
How to open recovery mode in LG Q Stylus
How to find and turn on a voice recorder on LG Q Stylus
How to make video calls on LG Q Stylus
LG Q Stylus sim card not detected
How to transfer contacts to LG Q Stylus
How to enable/disable «Do not disturb» mode on LG Q Stylus
How to enable/disable answerphone on LG Q Stylus
How to set up face recognition on LG Q Stylus
How to set up voicemail on LG Q Stylus
How to listen to voicemail on LG Q Stylus
How to check the IMEI number in LG Q Stylus
How to turn on fast charging on LG Q Stylus
How to update the application on LG Q Stylus
Why the LG Q Stylus discharges quickly
How to set a password for apps in the LG Q Stylus
How to format LG Q Stylus
How to install TWRP on LG Q Stylus
How to set up call forwarding on LG Q Stylus
How to empty the recycle bin on LG Q Stylus
Where to find the clipboard on LG Q Stylus
How to Replace the Battery on Another Phones
